Site Links
Howdy, Stranger!
It looks like you're new here. If you want to get involved, click one of these buttons!
Quick Links
Categories
In this Discussion
Who's Online (0)
Sugrivans - 2 way R176 TL and XT25BG60-04 in Visaton WG
Started a new TM a few weeks ago with Rival R176CP woofers in a tapered TL and the (NLA) Vifa XT25BG60-04 in a Visaton waveguide.
Design is named after a magical monkey king from the Ramayana (Sugriva)
My normal method of modeling a TL is to run WinISD or Unibox models, and assume that bass performance will be similar in a TL alignment.
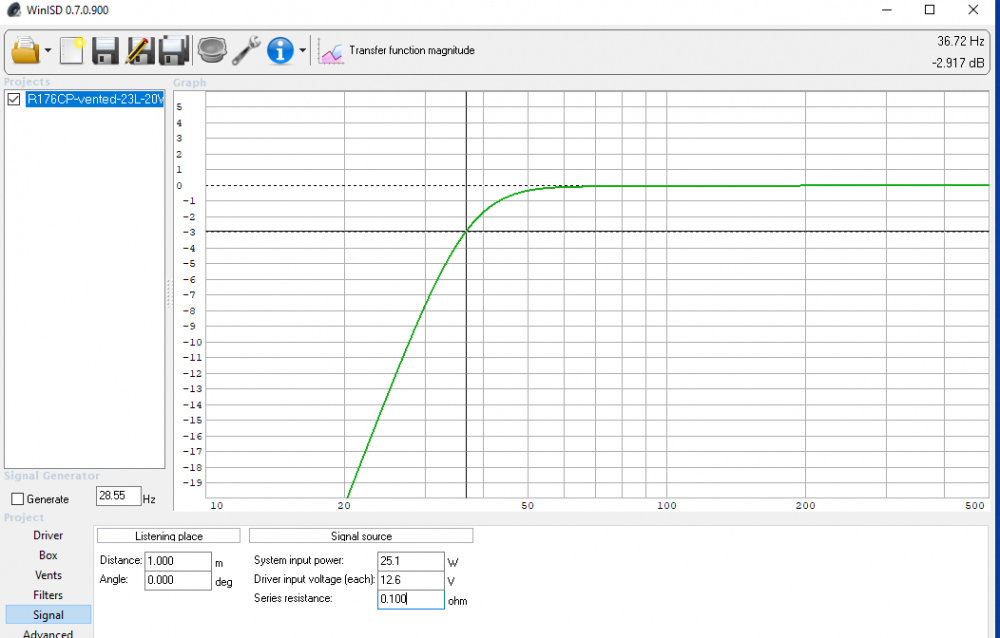
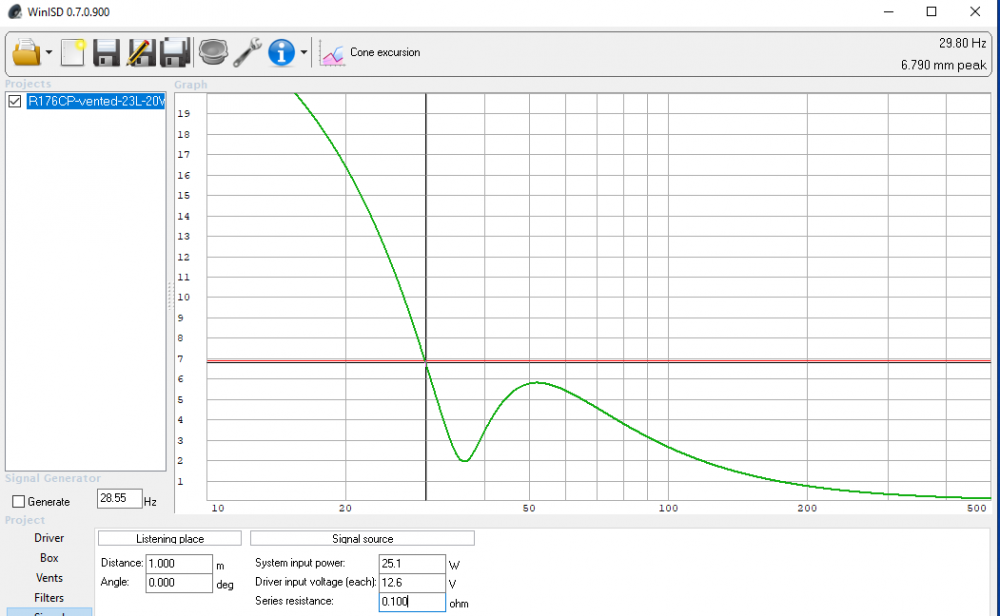
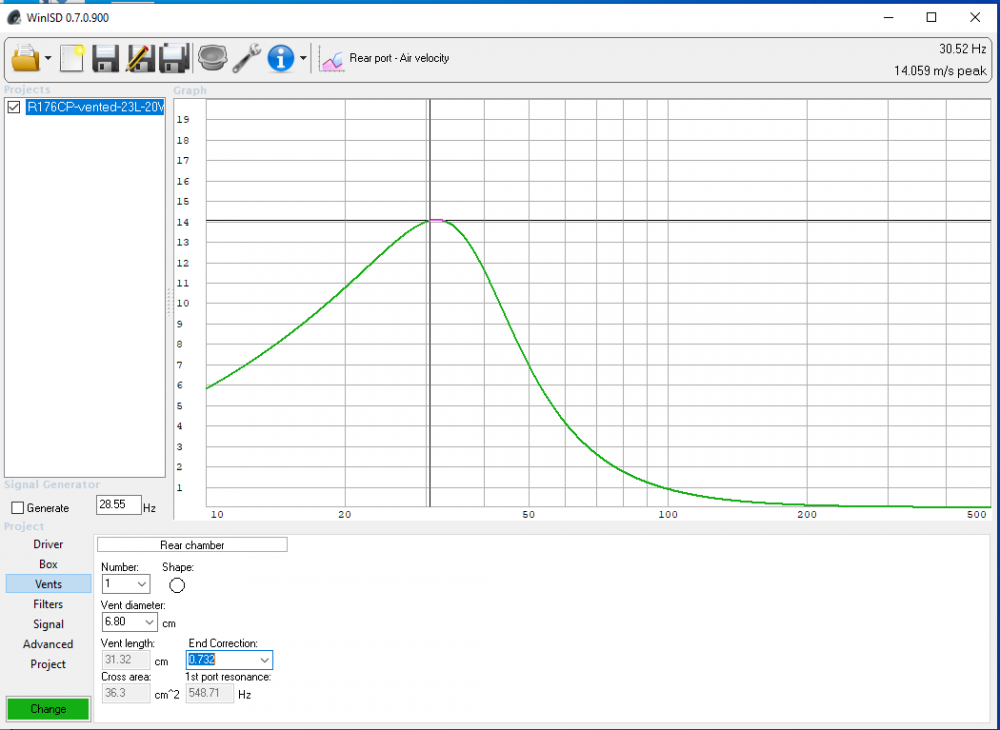
Here is the basic WinISD model:
25W power, 23Liter box, 2.5 inch port - 36Hz F3, 32Hz F6. 100.5 dB SPL passband
But Chahly - Stahkist don't want speakers that look good, Stahkist wants speakers that sound good!

Comments
When I started trying to figure out how to fold a Transmission Line to fit a bookshelf sized speaker (IE: PMC) - I looked at a couple of TL models - totally square MLTL (IE: Paul Kittinger's usual model) - a square line end and tapered box leading to the exit, and a totally tapered design. Like these:
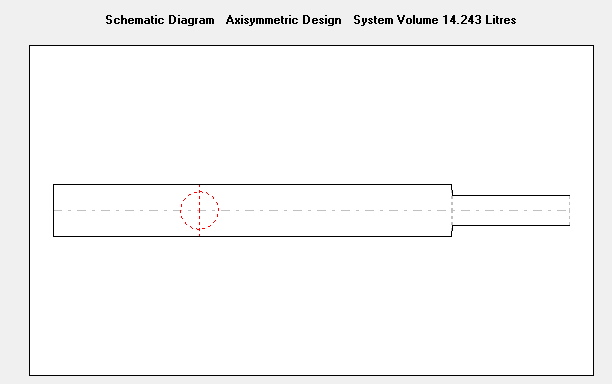
I had previously received advise that a totally tapered design would work best, but couldn't figure out how to fold a tapered plenum. The Hornresp model showed that a total taper WOULD really work the best.
Last time I did this I laid it out in excel and AutoCAD. Excel had the formula for the area. The box had a fixed Width, so excel would give me the section Height from the drawing Length in AutoCad. I seem to recall that Horn Resp will also print out dimensions.
Let me give it a try. Stand mount or floor stander?
Wow, John, that's impressive!
Basic interior dimensions are:
16" H
9.5" W
10.25" D
Here are the HR parameters.
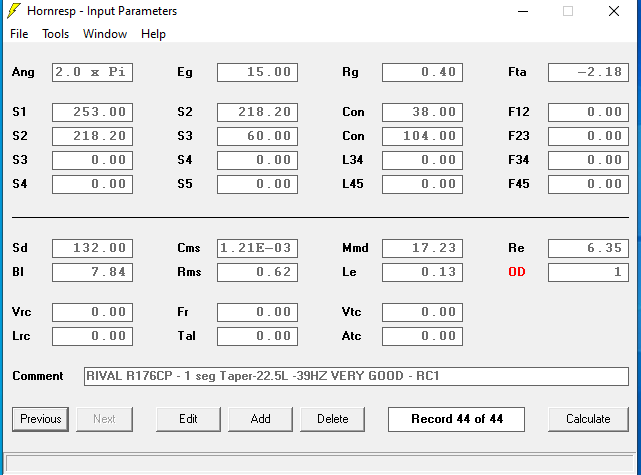
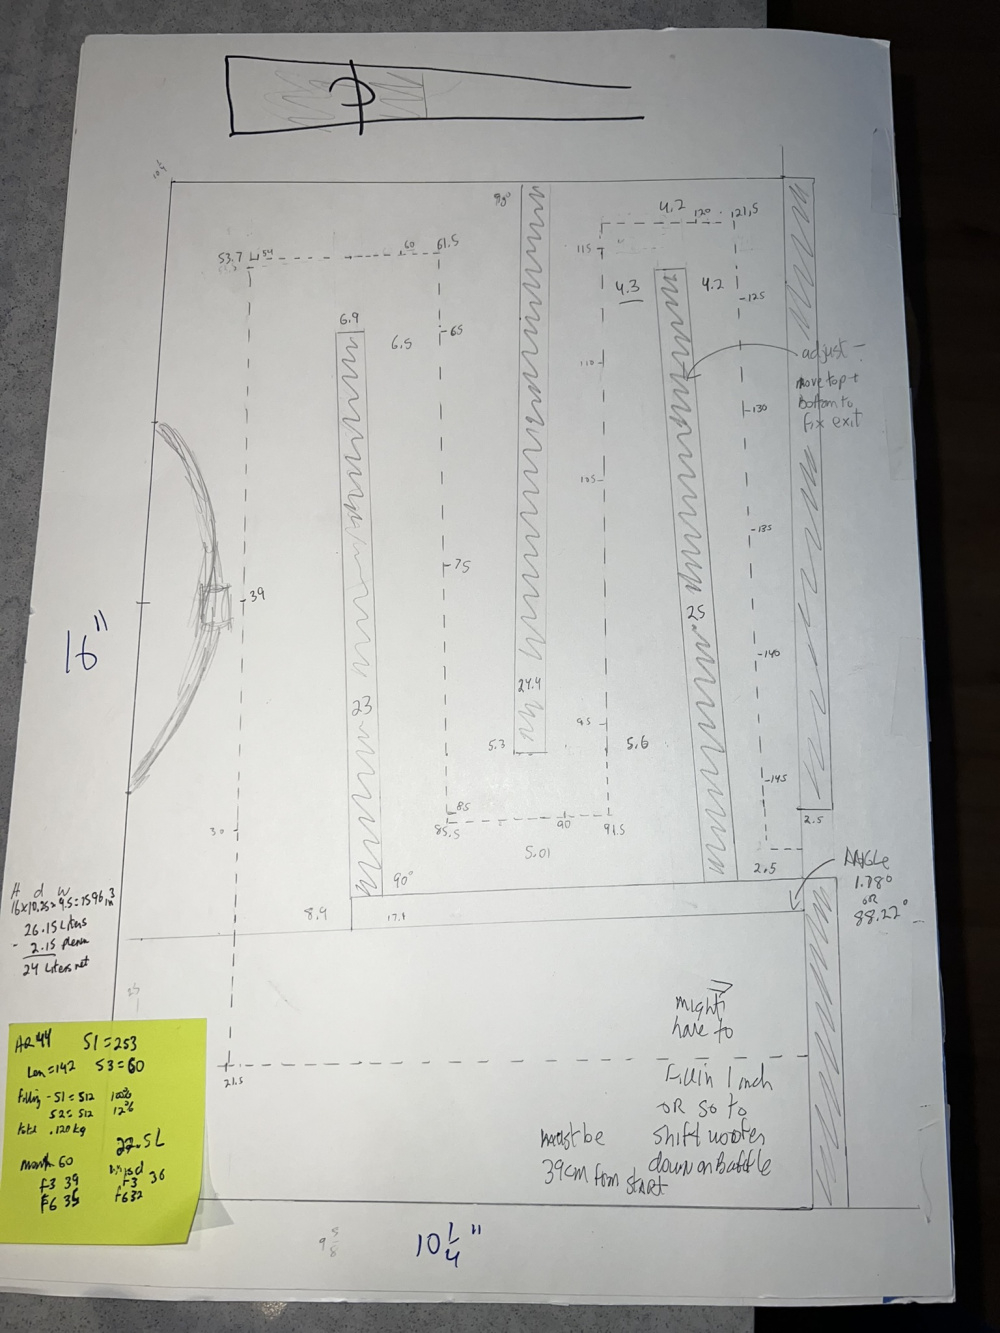
Here is what my hand drawn model looks like:
Oh my that makes my head hurt after a long day of panel wiring
One of the interesting things about folding this continuous taper is that the plenum "boards" are at 90 degrees to the initial angled "beginning" piece or 90 degrees to the top of the carcass. Not quite as difficult as I initially thought.
I think I've figured out the easiest and most foolproof method of the plenum construction. More details soon.
Wow - that's going to be a stout little box. The thought of calculating the taper and those angles make my head hurt too. Great job!
Great project!
Cool project. I just got my Visaton W148 waveguides yesterday for the same tweeter but in a 3-way. Are you milling your own adapter or 3D printing? I'm trying to come up with a solution now that I found out my county library system dropped their 3D printers when COVID hit and won't bring them back.
You will like that tweeter in that guide. Don't let some on-axis anomalies fool you.
I ended up with a very small cap (1.5uF) and a padding resistor in the 2-way I did.
I printed Qty 4 of the XT25 adapter found on Thingiverse. On a Prusa 3, it was easy to duplicate, and 4 fit on one bed.
Yeah, I hear you!
I gave up on Sketchup, and have not learned Fusion360 or Freecad yet, so I did it manually.
Got a roll of large white sketching paper, and drew each segment manually.
It's (simple) geometry to figure out the cross-section width of any point along a triangle, so I printed out each width along a triangle that was 143 cm long. For a TL, the important element is the center line, so I just tried to make sure that the "walls" of the plenum were the proper distance whether the line was straight (easy) or turned a corner (a bit harder).
Took me about 10 iterations to get the vertical height and depth correct to finish the line exit on the back side of the box at the right place. If I do another design like this, I think I will program a Python - QT program to generate the line with the folds.
I'm planning to print the somasonus 6.5in circular wg for the ss version tweeters and compare it to the visaton.
https://www.somasonus.net/scanspeak-d3004-6600
But the 13 hour time prusa slice puts on them is daunting.
Hm, we should compare notes. As far as I remember, my friend who printed them said that it took 9 hours.
After cutting most of the box pieces to size, I finally started glue ups today.
Decided to try for a natural BB finish, so I mitered the sides and top / bottom.
Used biscuits for dry fitting and alignment for the glue up.
Umm, pay no attention to the mistake biscuit cuts on the back. Sheesh. What an idiot!
But the boxes really went together pretty smoothly and squarely.
Since I have had out of square baffles many times, I thought I would use a scrap piece of ply
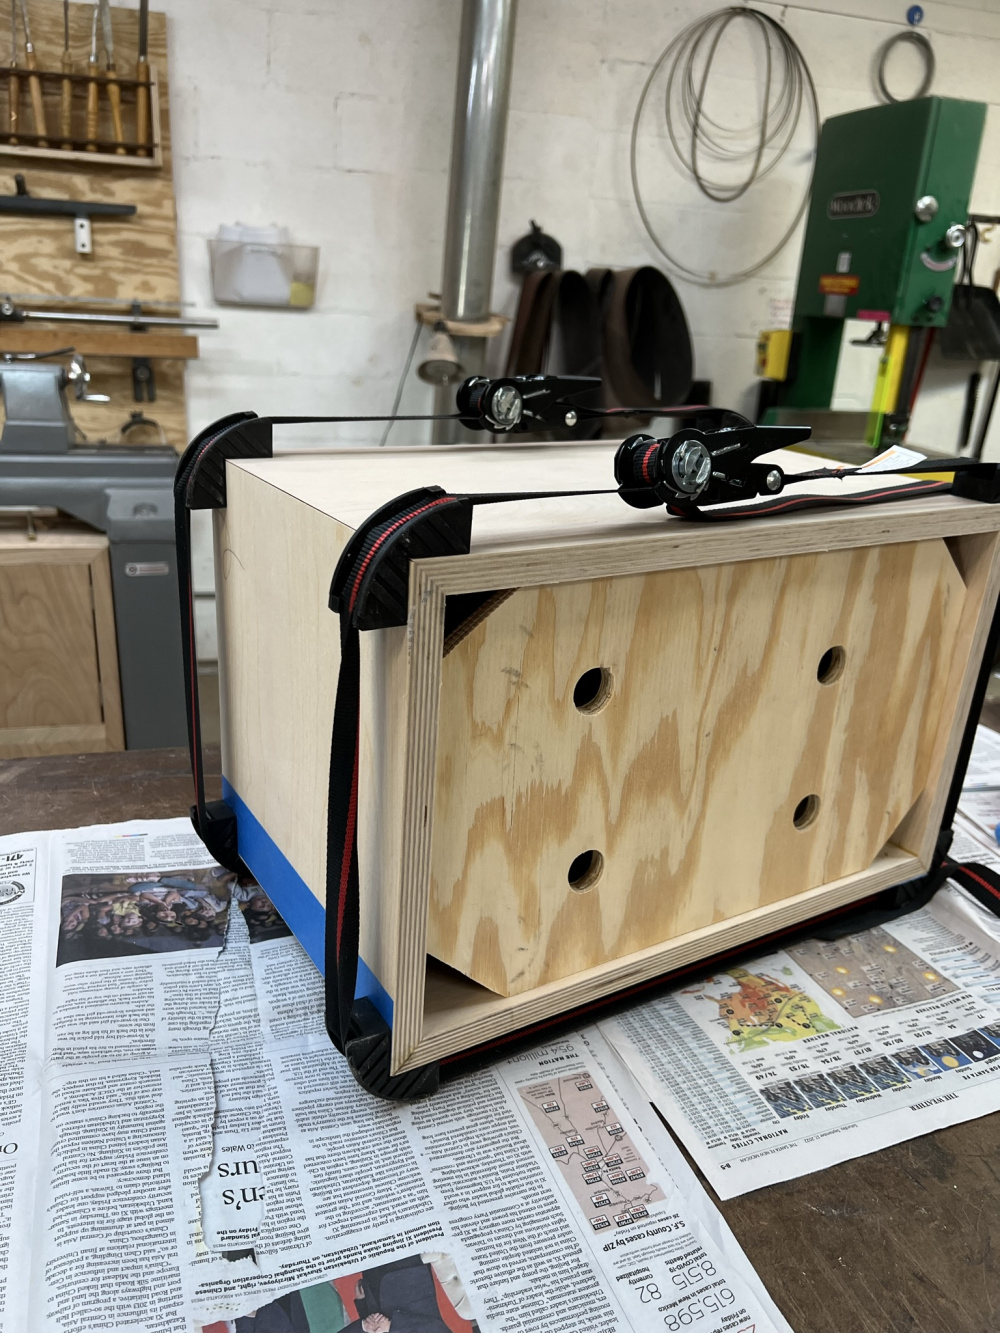
to keep the front square. Seemed to work pretty good.
I left the right side unglued, so I can put the plenum boards inside (Probably going to use dowels for alignment)
And got the plenum boards cut to exact width and approximate length. There will be 4 plenum boards required.
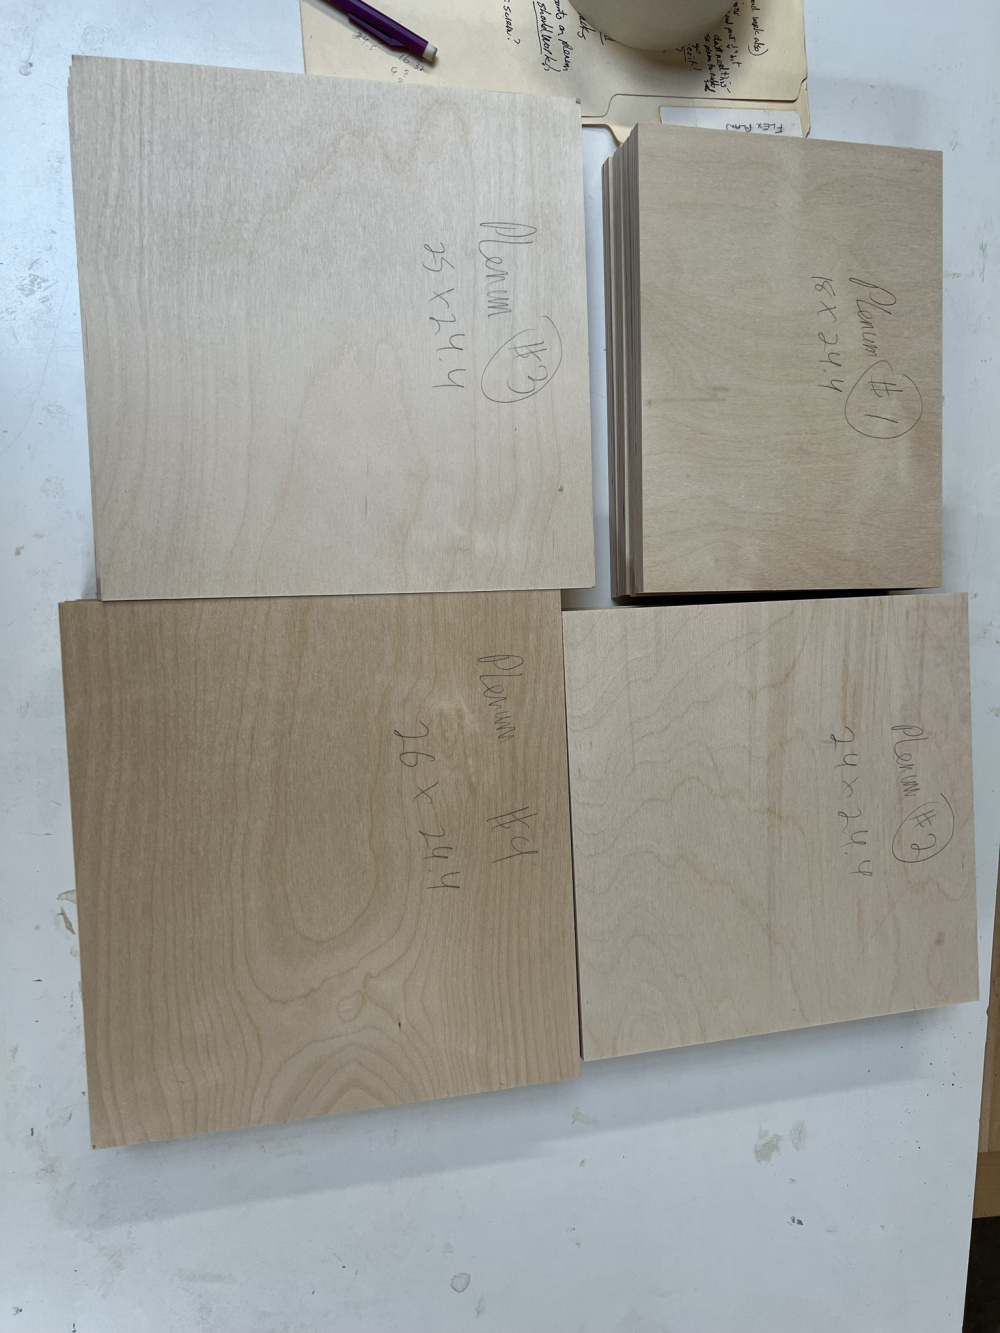
Just a general question about the folded TL build. If you are building a cab with 3/4" stock, should the plenum boards also be of the same stock or could they be 1/4", 3/8" or 1/2" stock? What would be the ramifications of using thinner stock provided you kept the internal measurements the same?
Good point! I pondered that for a while. I didn't feel good about possibly using 1/4" BB ply for the plenum - too much possibility for flexing, and I felt strongly that 3/4" BB ply was overkill, so I settled on 1/2". It would be an interesting engineering question to see how much pressure is exerted internally on a TL like this.
Yes, I would think the weight savings would be significant and the space/size savings not insignificant. What I don't know is if vibration or reverb or whatever would come into play, either stuffed or unstuffed. I can't imagine you could go wrong with 1/2" in the cabinet size you have. Nice work so far!
Since my hand drawn paper layout was the reference, I used an awl to make the center of the plenum boards onto a template piece of 1/8" hardboard, then drilled out holes that I used to drill dowel holes in the carcass.
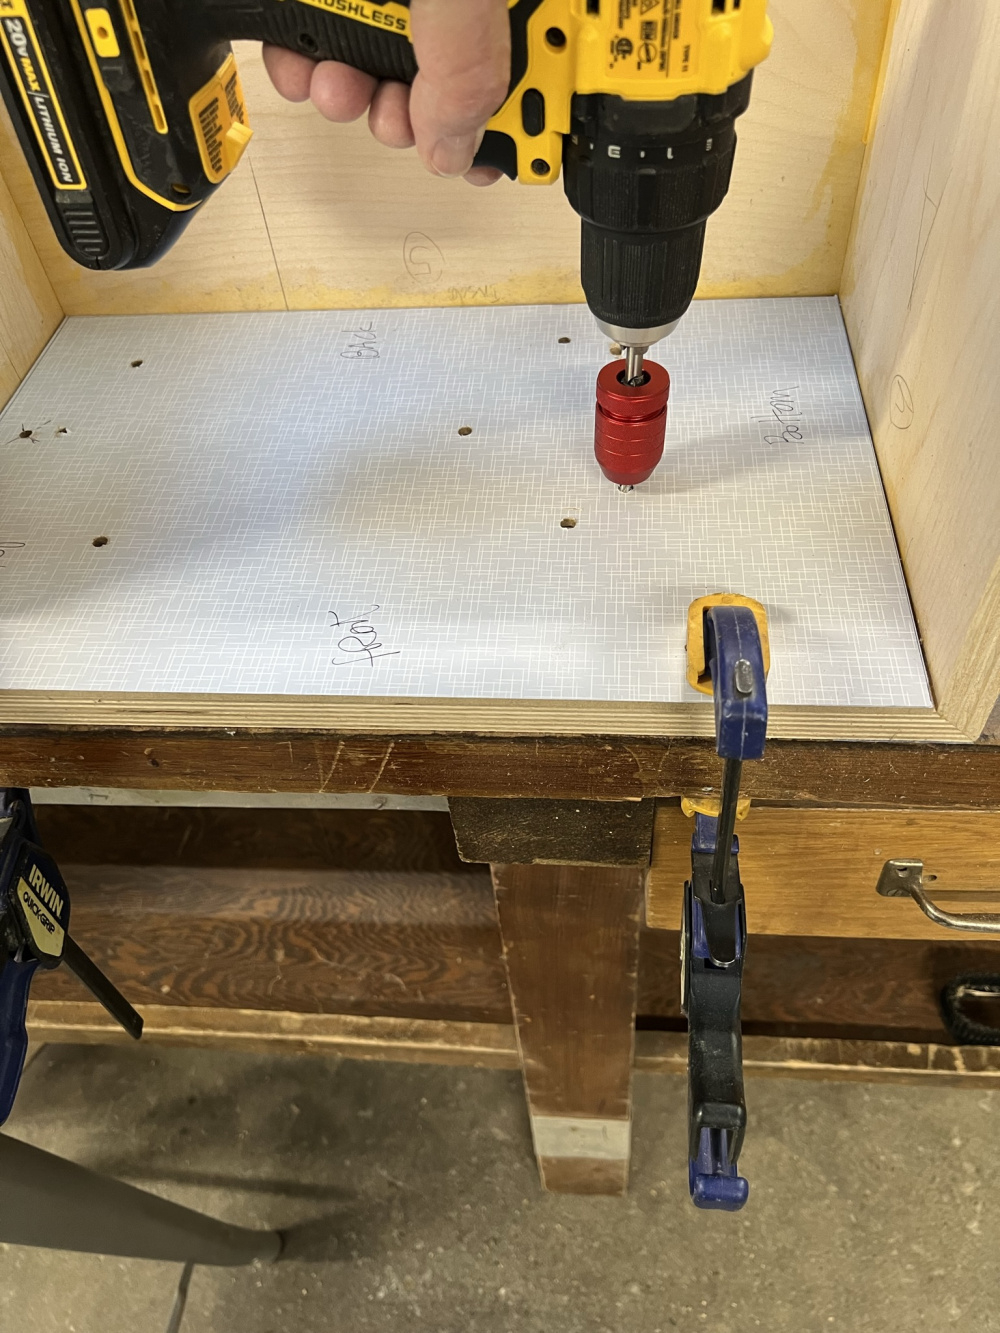
With dowels inserted
And today I inserted the plenum boards to check the fit
Still to be decided - how to fasten the plenum boards together, and to the carcass.
I may just clamp and glue them. Any additional fastener just seems to introduce inconsistencies.
I built a router dado jig earlier this week and cut the exit slot for the Transmission Line .
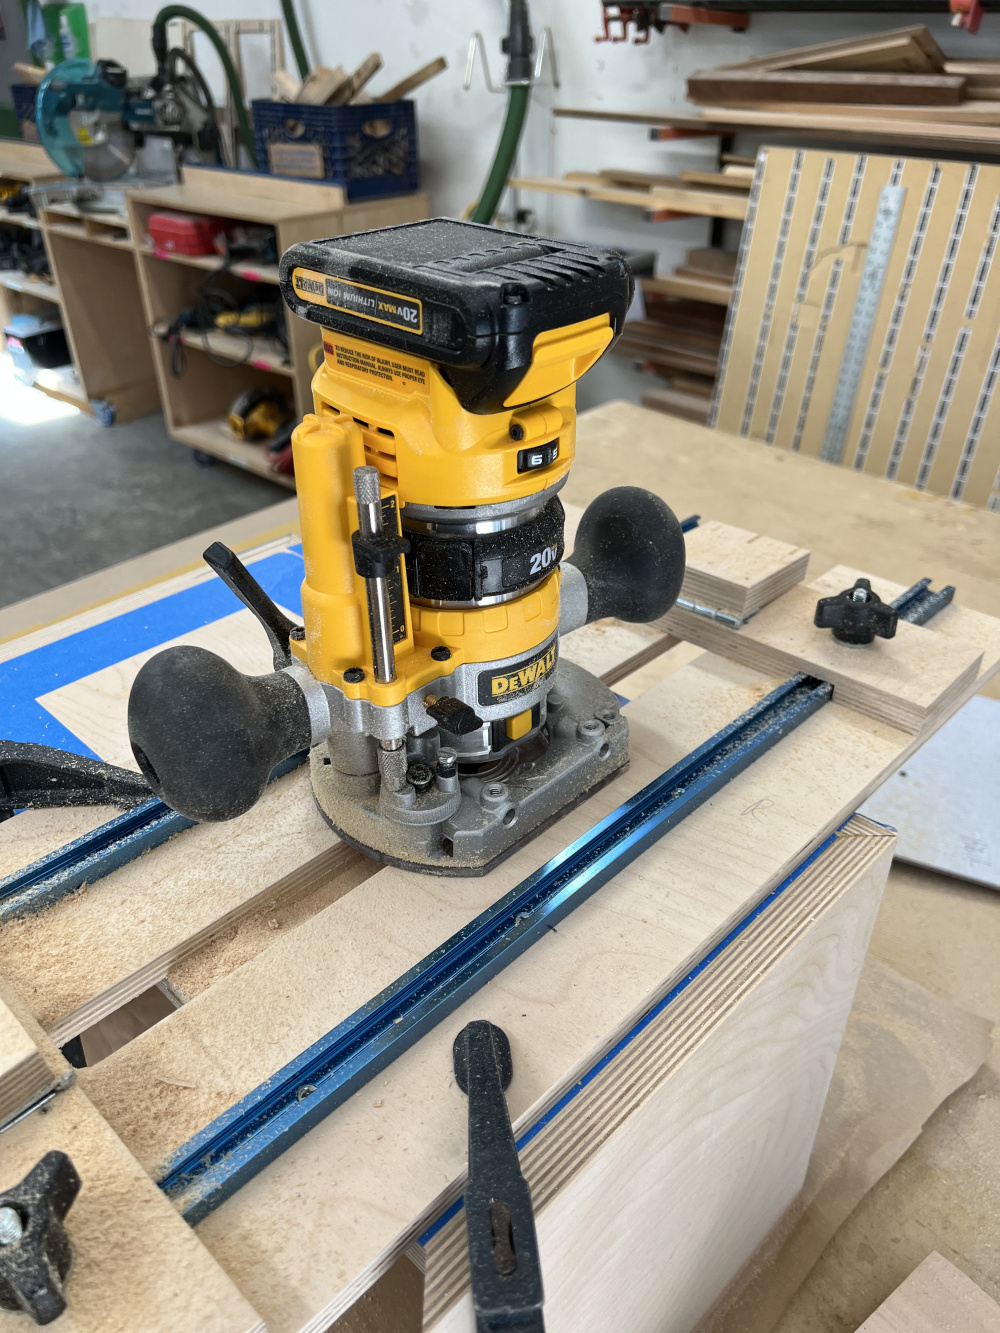
The slot needed to be exactly 2.5 cm wide and it was right on the money
How is that router? Does it suck battery life in a hurry? I have six 4ah batteries so I would not necessarily be worried about that - but does it have the horsepower of a corded router?
I'm not sure about the depth adjustment - haven't cut any recesses yet.
The power seems fine, but does tend to use up batteries quickly.
I LOVE not having a cord, and I love the light weight.
It has instant stop, which is actually very nice.
After I bought it, I found some youtube videos - the pro guys love this router.

Thanks for the feedback, Don.
The smallest 1.2AH batteries run down pretty quickly - about 20 minutes of routing. I would assume that larger capacity batteries last much longer. I really love this little cordless router. My big Bosch 1617 is not getting used a lot these days.
I wasn't going to sidetrack the thread about the router, but since there have been some additional comments I'll make some observations:
Thanks @a4eaudio - I got the base router on a sale for $100 and spent another $100 on the plunge base (well worth it).
I am a definite "tool hound". Love good tools.
Started gluing in the plenum boards. Started with 2 boards, then figured out that the Gorilla Glue was not sealing as well as I need, so I will go over the the joints with caulk before I add the last 2 plenum boards.
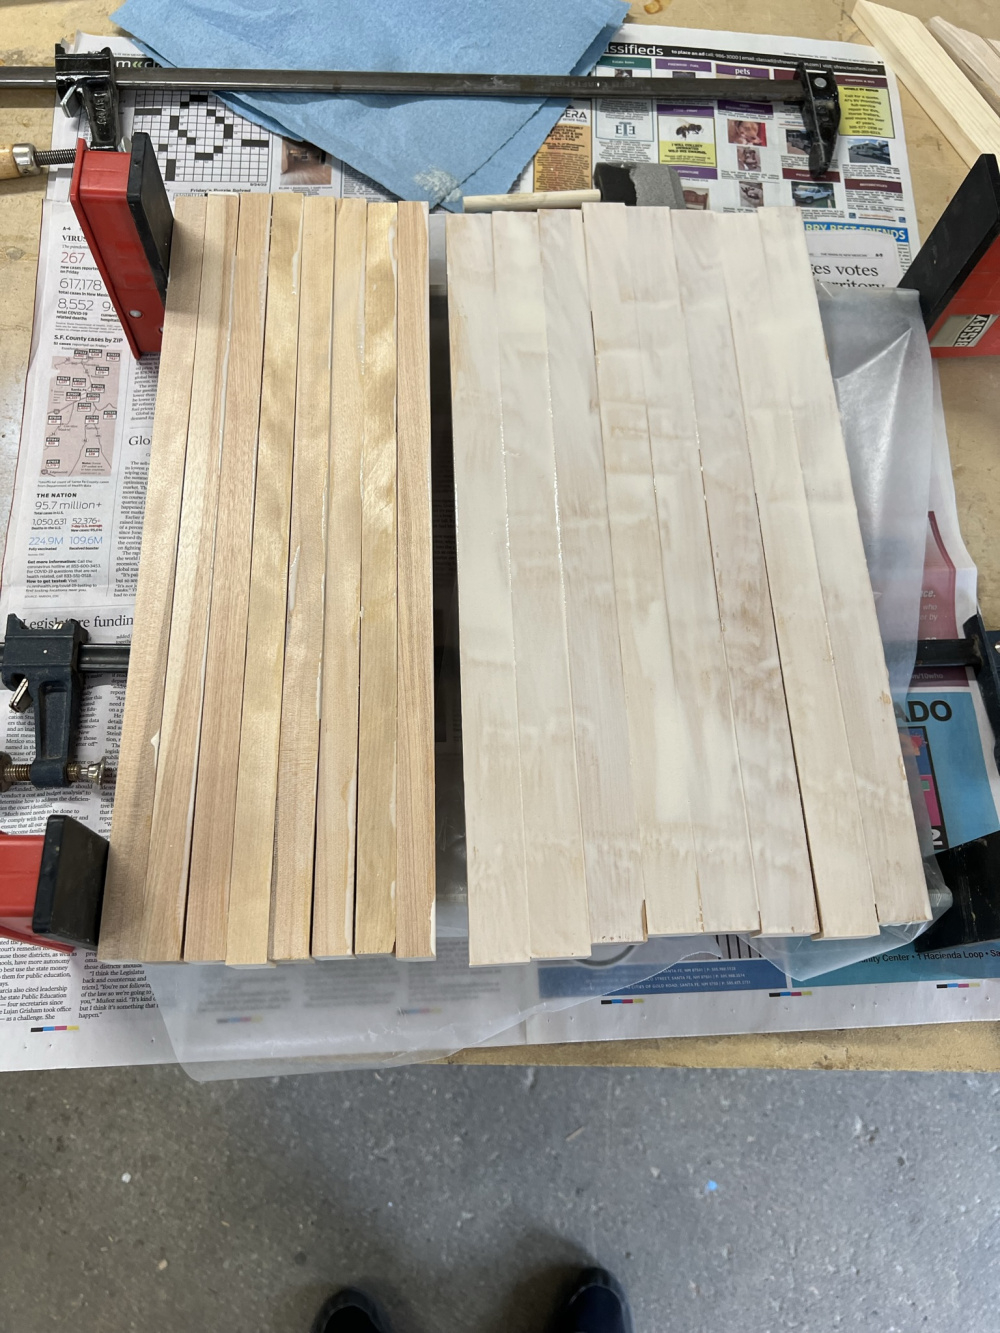
While waiting for more of the plenum boards glue to dry, I started on the baffles. I wanted a 1 inch thick edge glued birch baffle, and found 3/4 inch birch at Home Depot. Made a thin rip jig from a feather board, and everything from there worked out perfectly. Cut the sticks 1 1/8" thick, and they planed down to 1 1/16" before final sanding.
Glue up start:
