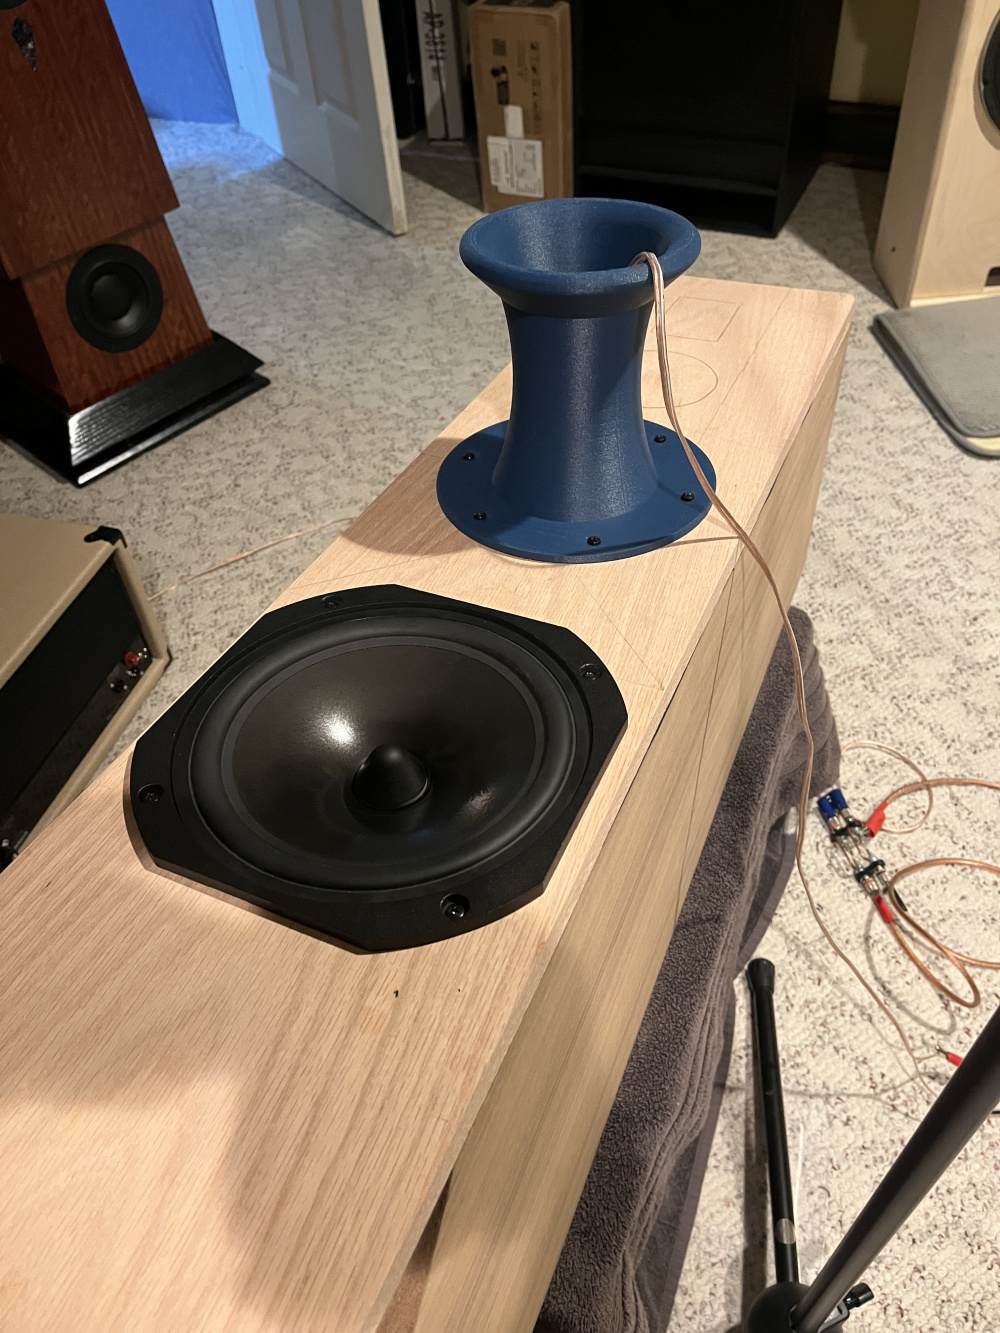
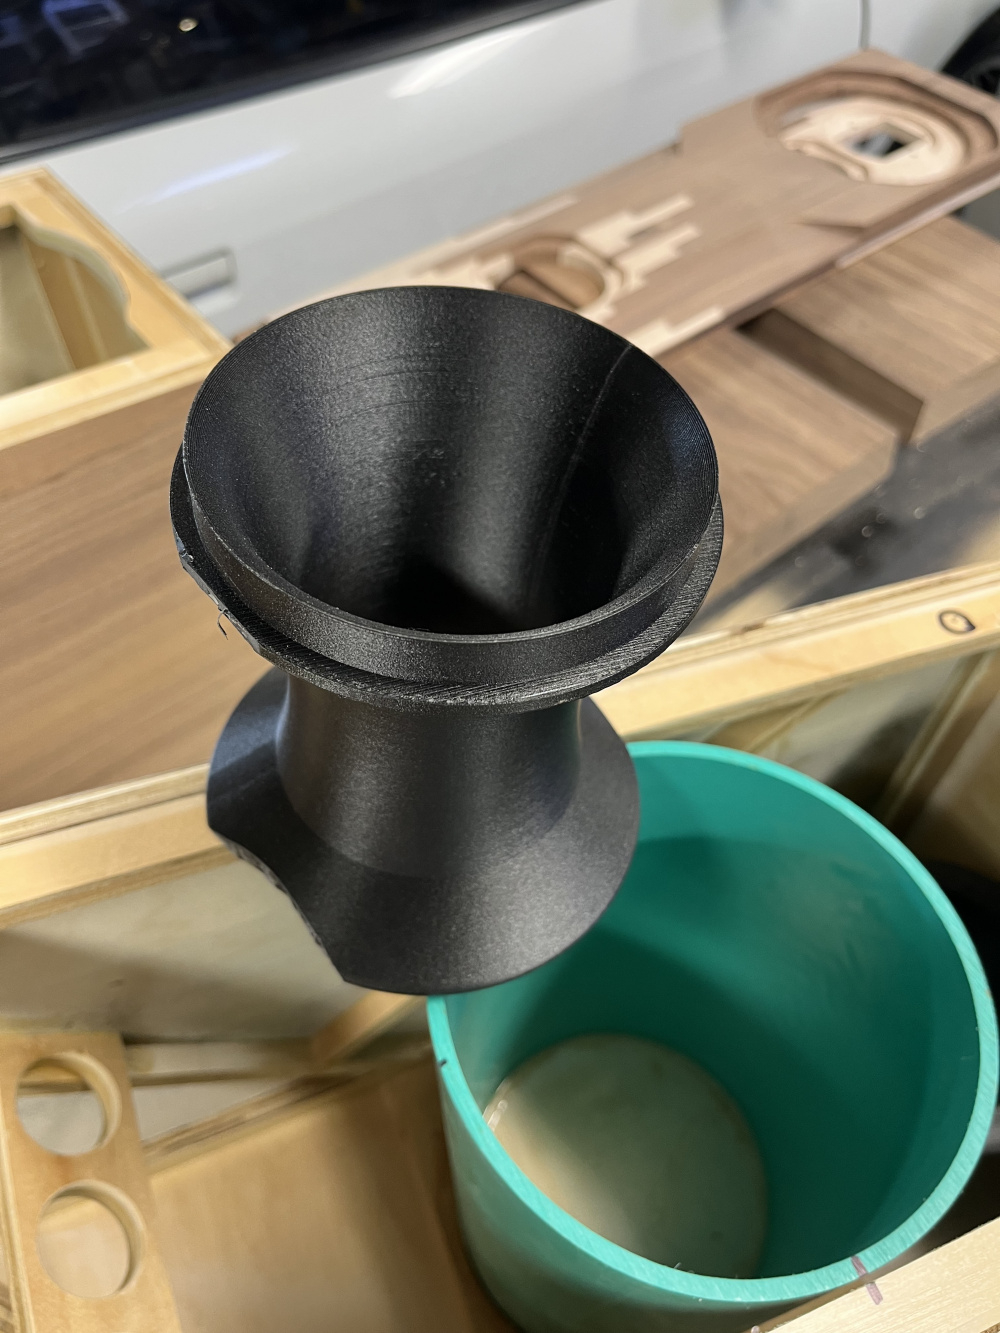
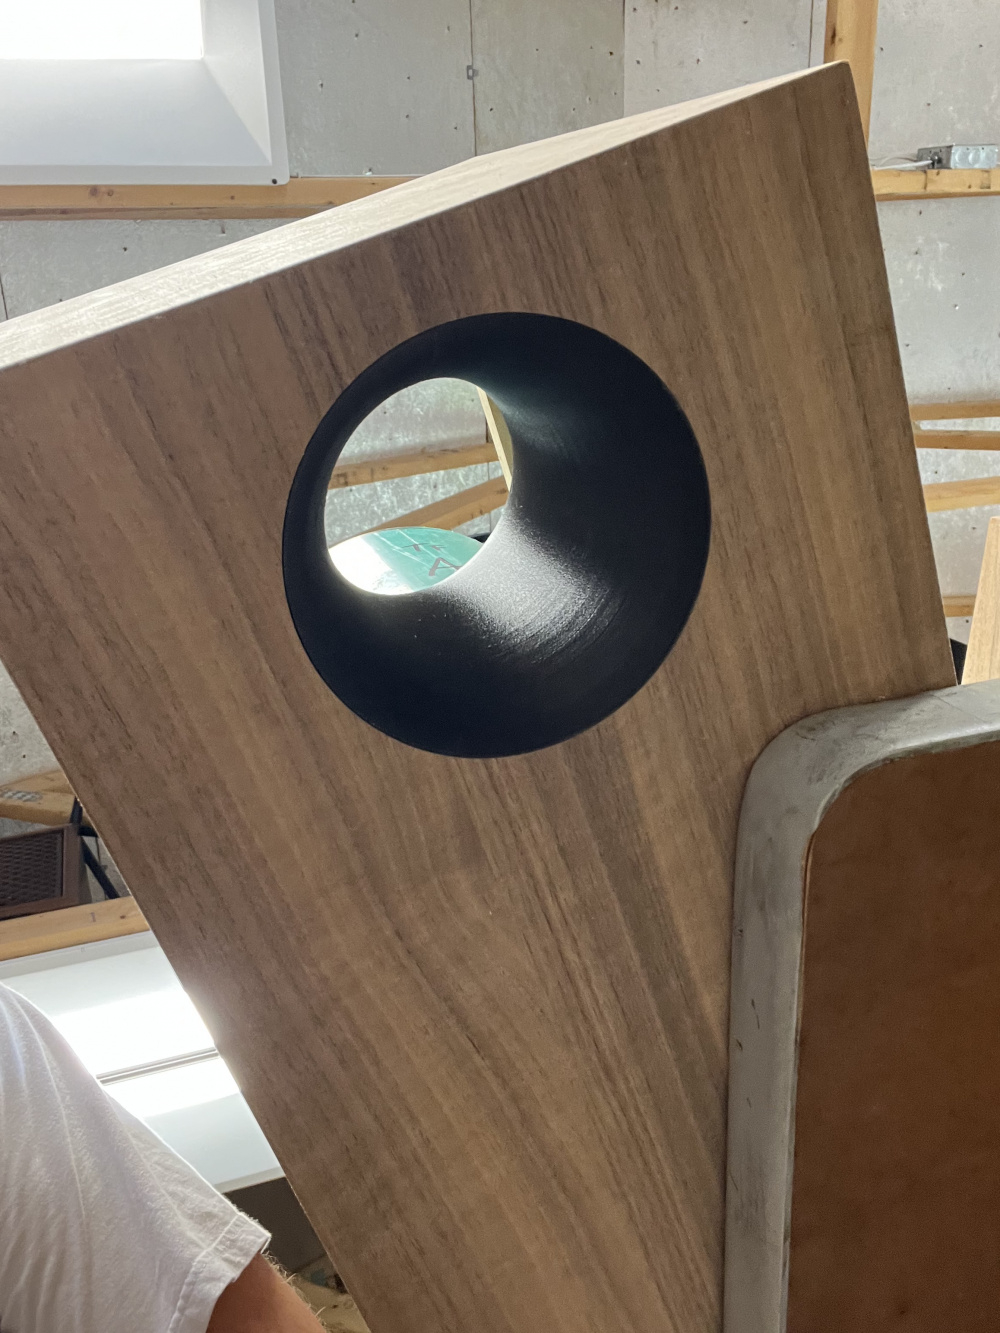
Started testing the tuning of the box. STV over on the DIYA forum did some really awesome research on optimizing ports. https://www.diyaudio.com/community/threads/investigating-port-resonance-absorbers-and-port-geometries.388264/
The outcome of it became a spread sheet that gives a proper geometric shape that keeps flow as laminar as possible to prevent port noise. Using this he was kind enough to model and send me a print file. I then had a buddy print up this first iteration to test.
I am shooting for 40Hz, this ended up at 35Hz, so the next iteration is waiting to be printed. This also coincides with me pestering 😛 @rjj45 to help me figure out port placement over in the Hornresp thread.
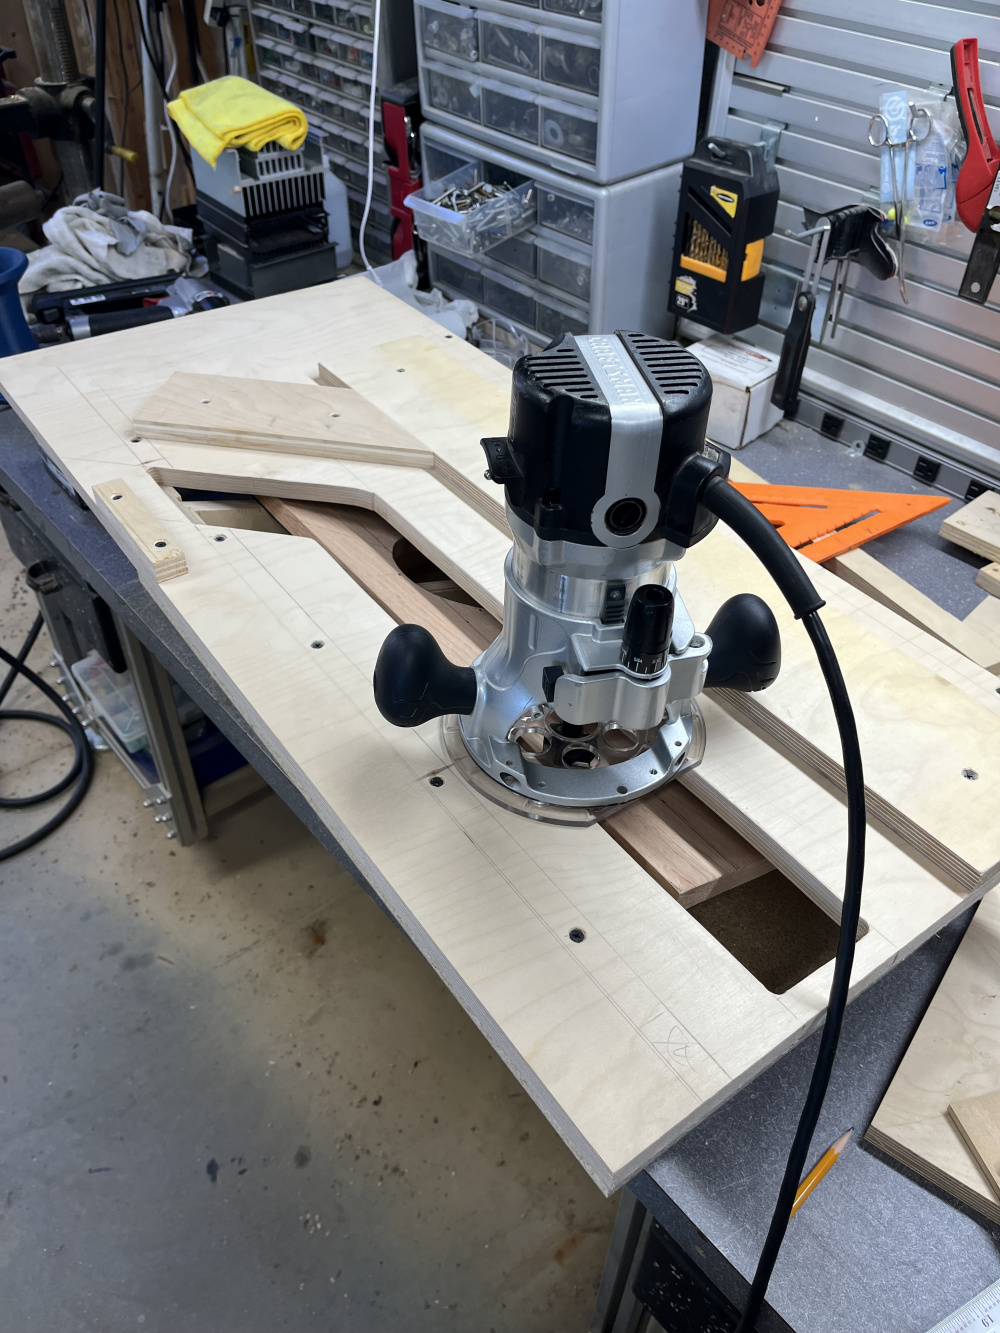
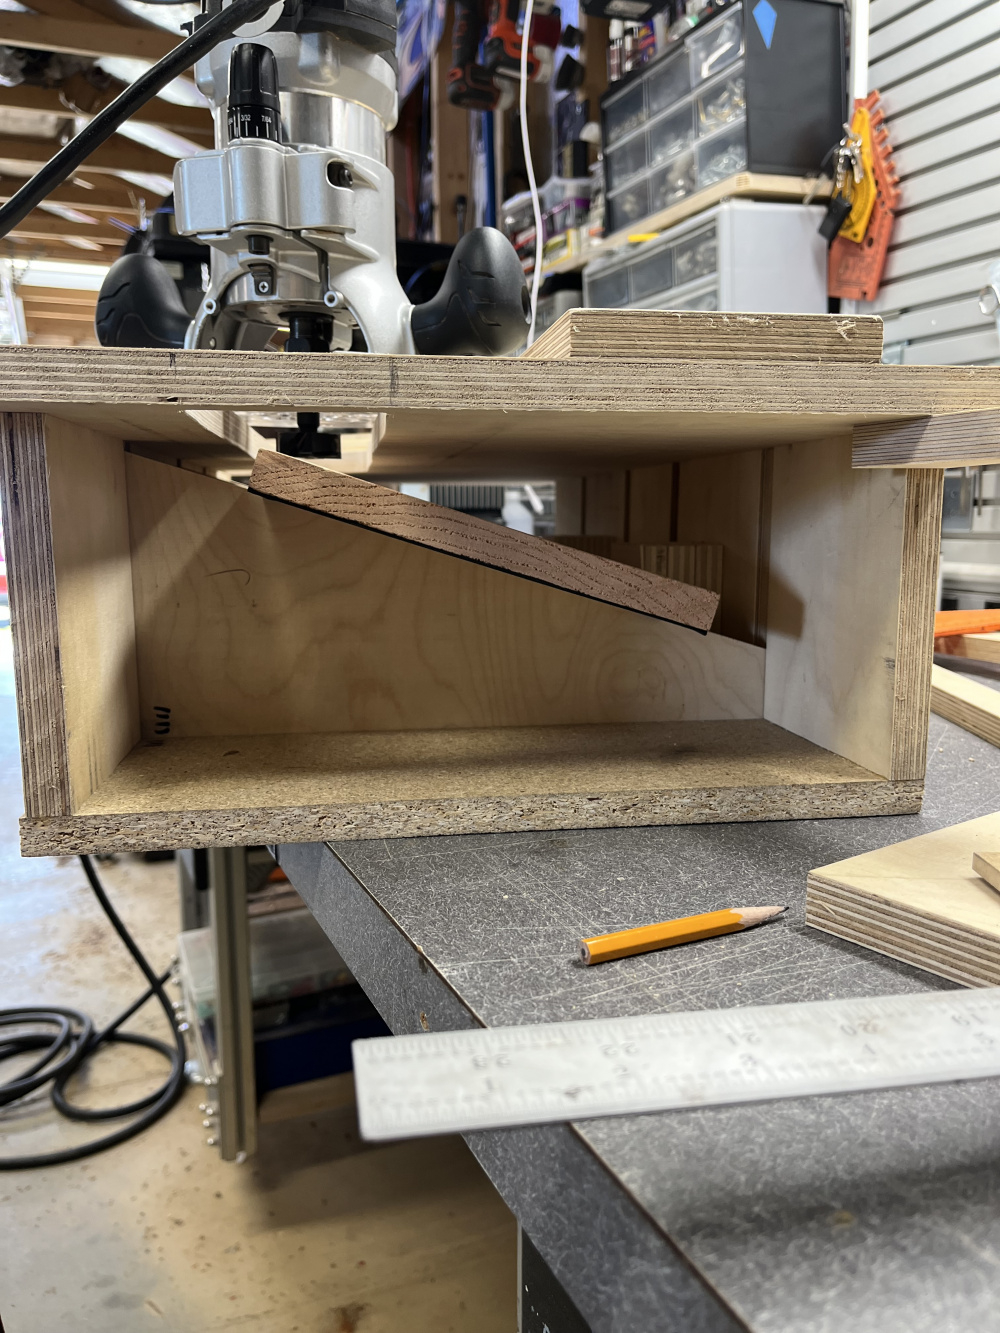
Today was a day I've been thinking about for awhile now. I've been thinking of how to cut the bevels on either side of the baffles..... without screwing something up. I came up with a plan for a jig and as I was building it, I really tried to make it work for cutting both sides. Here's what transpired:
It was definitely nerve wracking... knowing at any moment these baffles could be dumpster fill, but everything went as planned! This is after doing one side, reversing everything and doing the other side.
It was, but thats part of the fun. The things we have to invent to make other things happen is another aspect of this hobby I really enjoy. Wasn't there a thread where people were posting jigs they made?
@6thplanet said:
It was, but thats part of the fun. The things we have to invent to make other things happen is another aspect of this hobby I really enjoy. Wasn't there a thread where people were posting jigs they made?
Me too. The downside is the number of jigs and fixtures that I have made that have been "one time use" projects.
But Chahly - Stahkist don't want speakers that look good, Stahkist wants speakers that sound good!
Installed some braces for the bolts to mount the base to. I'll drill a couple 1/2" bolt holes through the bases up through those pieces.
Also got the holes done to mount the ports though. I'm going with a rear mounted port because of the tight space I have to work with to get it up above the mid pipe, behind the tweeter. Adam is printing them up in PETG CF. This was a trial piece to get the depth stop dialed in so it'll be flush to the outside of the enclosure.
Started on a blank for trim pieces to go on the front of the bases. I felt it was a little to plain, so I glued up some maple to mimic the baffle.
I'll do the copper trim between it and the base as is done on the baffle to enclosure.
Side note... So I went to install new blades on the planer. When I took it apart, realized that the cutters are two sided. So I just had to flip them around. Those blades have been in this thing for like 25 years? Holy shit! I ran this piece though and it's literally like glass!!!😳 I really don't think it could be sanded any smoother. Should have done that like 15 years ago!!!😆 I couldn't tell y'all how much wood has been though this thing, hell I did a couple pieces of Trex for a buddy to use on his motorcycle trailer too!!
Time for the finish. This time around I tried Osmo. This happened because I wanted a base that I could clear over. I wanted the cabs to be satin and the baffles to be gloss. I originally wanted to try the Rubio stuff because of the way Javads speakers looked, it really brings out the natural look and tone of the wood. After contacting Rubio, they didn't recommend being able to lacquer or 2K poly over their finishes.
That lead me to Osmo. John H and DaveFred both have had really nice finishes on previous builds and the Osmo products also gave a nice natural tone to the woods. I contacted Osmo for any recommendations for my situation and they came back with their "Wood Wax Finish / Clear Extra Thin" They stated that it actually doesn't contain any wax, therefore should be fine to clear over. Took a trip to my local Woodcraft as they showed it in stock.
I've applied two coats to the enclosures and baffles.
So these cabs are on a table, putting the mid pipe close to ear height. As I was standing there, music rocking in the garage, I happen to be right next to it and noticed a resonance. I stuck my phone in the pipe, pretty obvious where this pipe resonates!
I stuck a 12x12 piece of egg crate foam in just to see what it would do.
Granted I'll be fully stuffing this thing, and I'm guessing the xover will probably be above 250Hz, but neat to know what to watch for.
Also if anyone noticed, I'm not opening the back up as originally planned....at least not yet...🤔
Comments
I really wanted to get fancy and have a glass top for crossover viewing, but I just don't have the depth.
Started testing the tuning of the box. STV over on the DIYA forum did some really awesome research on optimizing ports.
https://www.diyaudio.com/community/threads/investigating-port-resonance-absorbers-and-port-geometries.388264/
The outcome of it became a spread sheet that gives a proper geometric shape that keeps flow as laminar as possible to prevent port noise. Using this he was kind enough to model and send me a print file. I then had a buddy print up this first iteration to test.
I am shooting for 40Hz, this ended up at 35Hz, so the next iteration is waiting to be printed. This also coincides with me pestering 😛 @rjj45 to help me figure out port placement over in the Hornresp thread.
That looks awesome! Almost too nice to have hidden inside the enclosure.
Ah! There's the Audax!
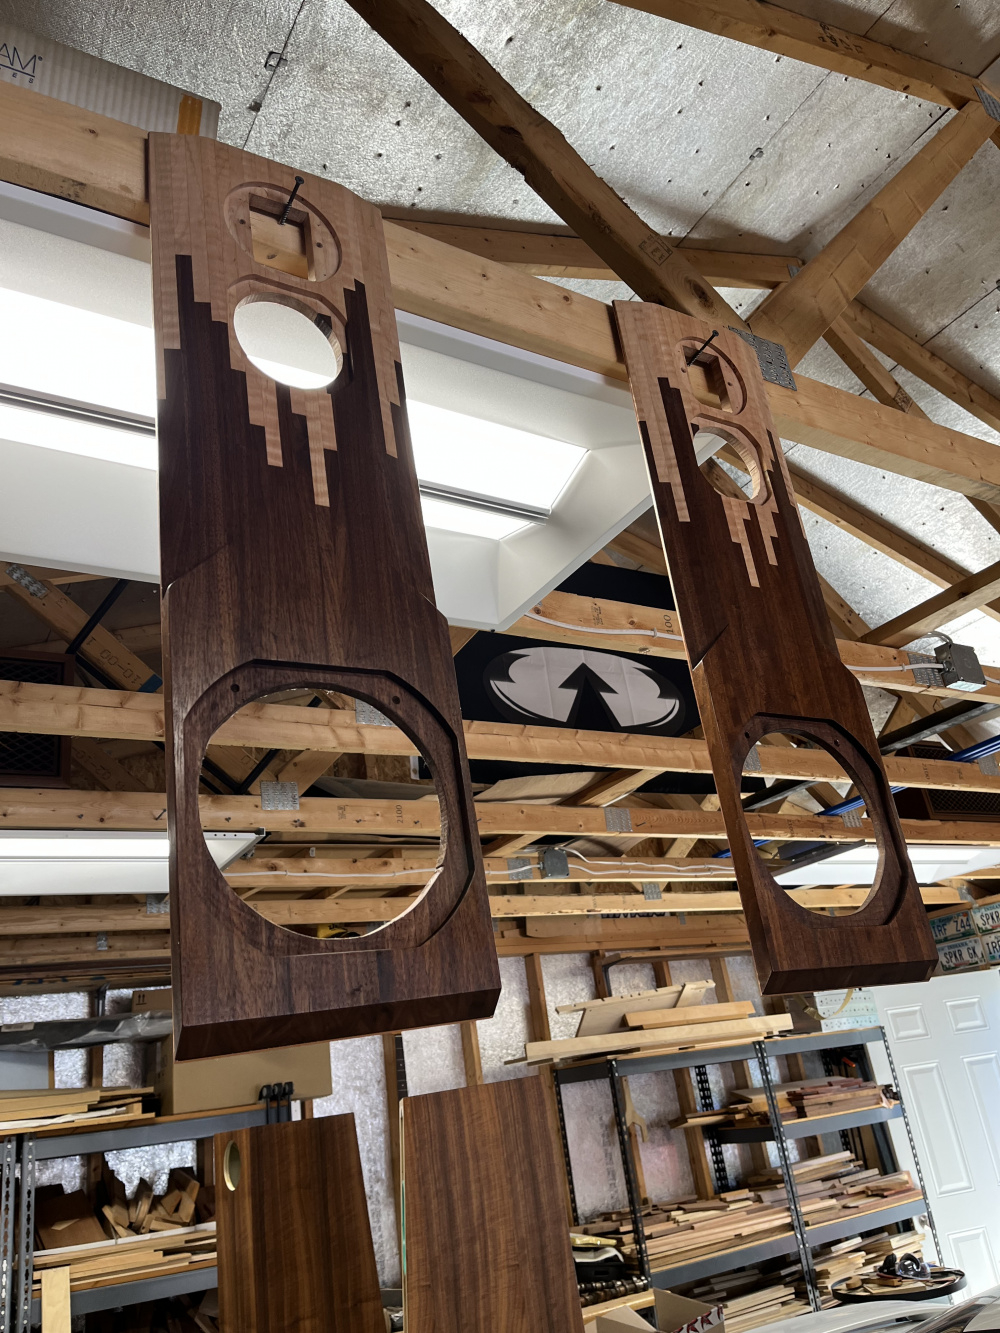
Today was a day I've been thinking about for awhile now. I've been thinking of how to cut the bevels on either side of the baffles..... without screwing something up. I came up with a plan for a jig and as I was building it, I really tried to make it work for cutting both sides. Here's what transpired:

It was definitely nerve wracking... knowing at any moment these baffles could be dumpster fill, but everything went as planned! This is after doing one side, reversing everything and doing the other side.
Exactly as planned...
Very clever looking fixture!
Proper planning produces perfect projects!
You are one skilled puppy!
")
That came out fabulously, man.
Damn dude, even the jig was a lot of work. well done.
It was, but thats part of the fun. The things we have to invent to make other things happen is another aspect of this hobby I really enjoy. Wasn't there a thread where people were posting jigs they made?
Insane amount of work you have put into these.
Me too. The downside is the number of jigs and fixtures that I have made that have been "one time use" projects.
So true!
Very impressive skill level here. Very nice.
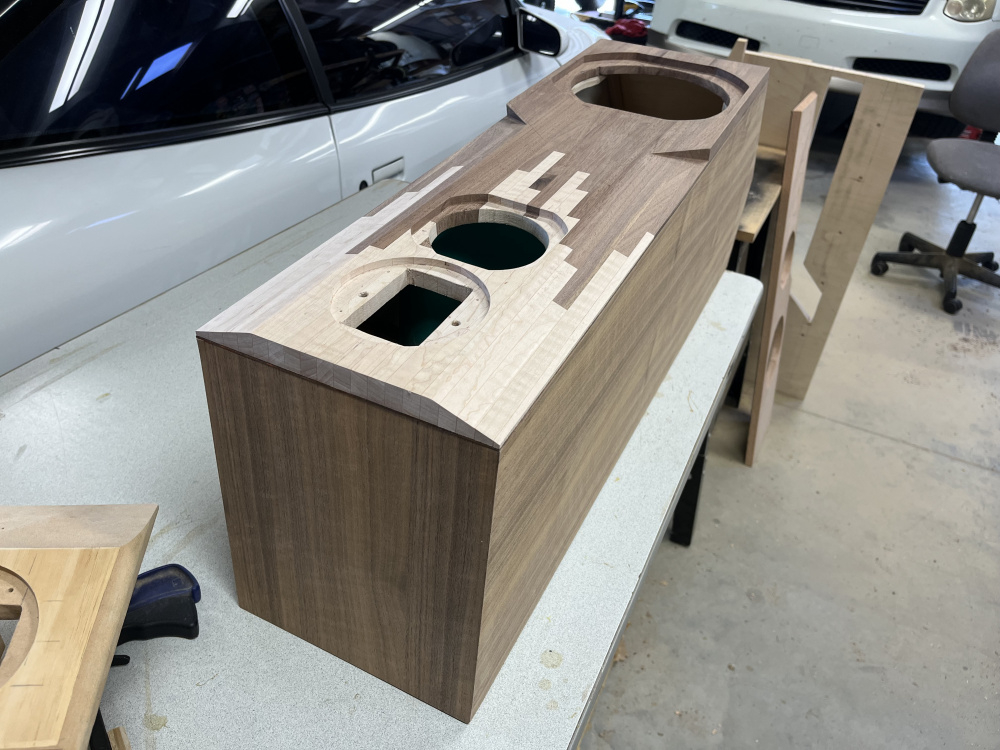
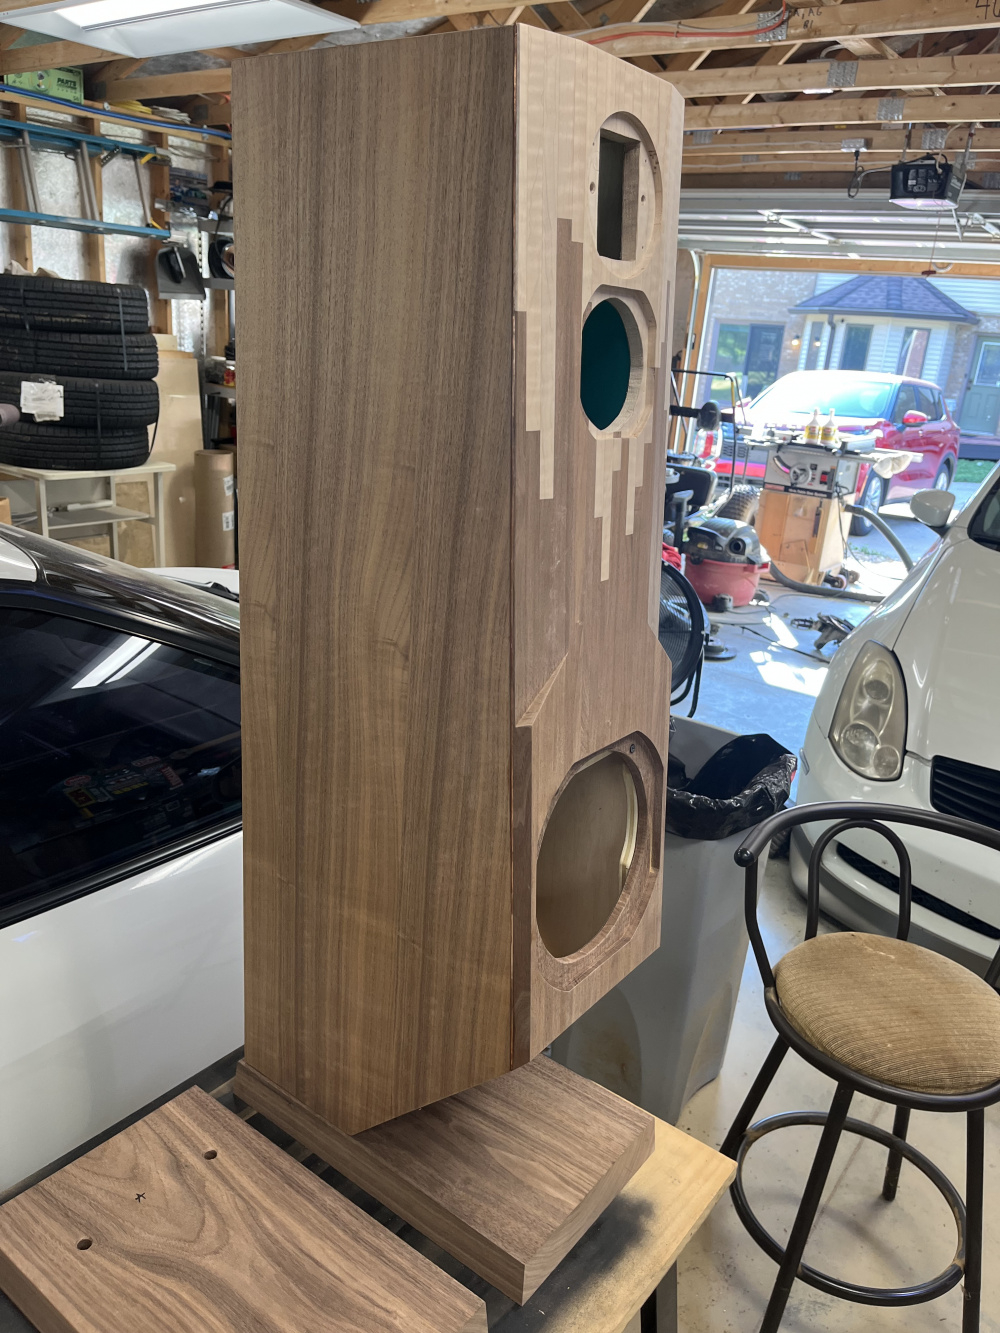
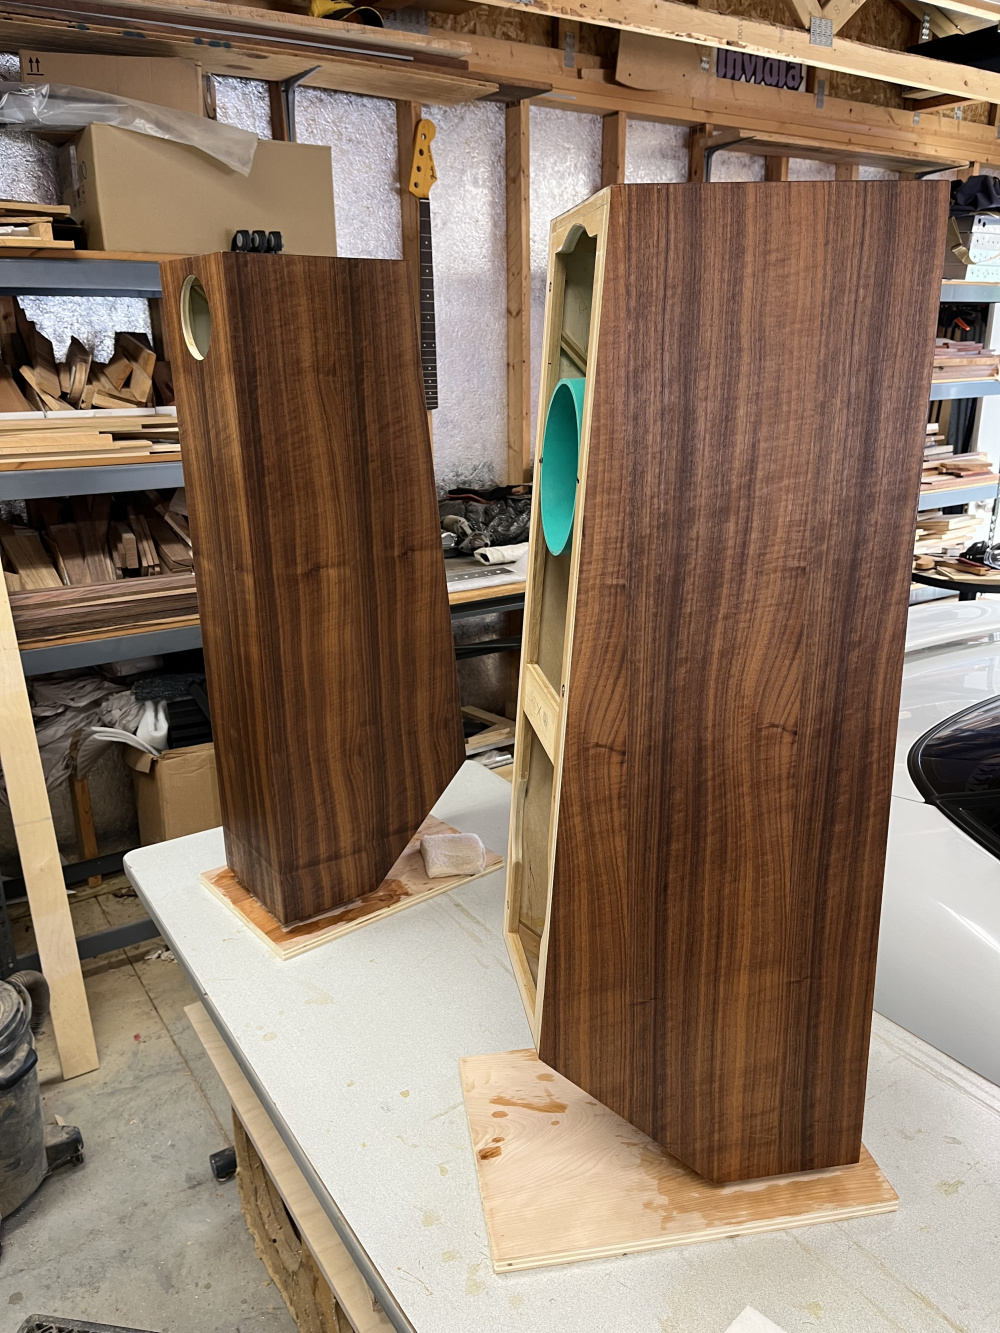
Installed some braces for the bolts to mount the base to. I'll drill a couple 1/2" bolt holes through the bases up through those pieces.
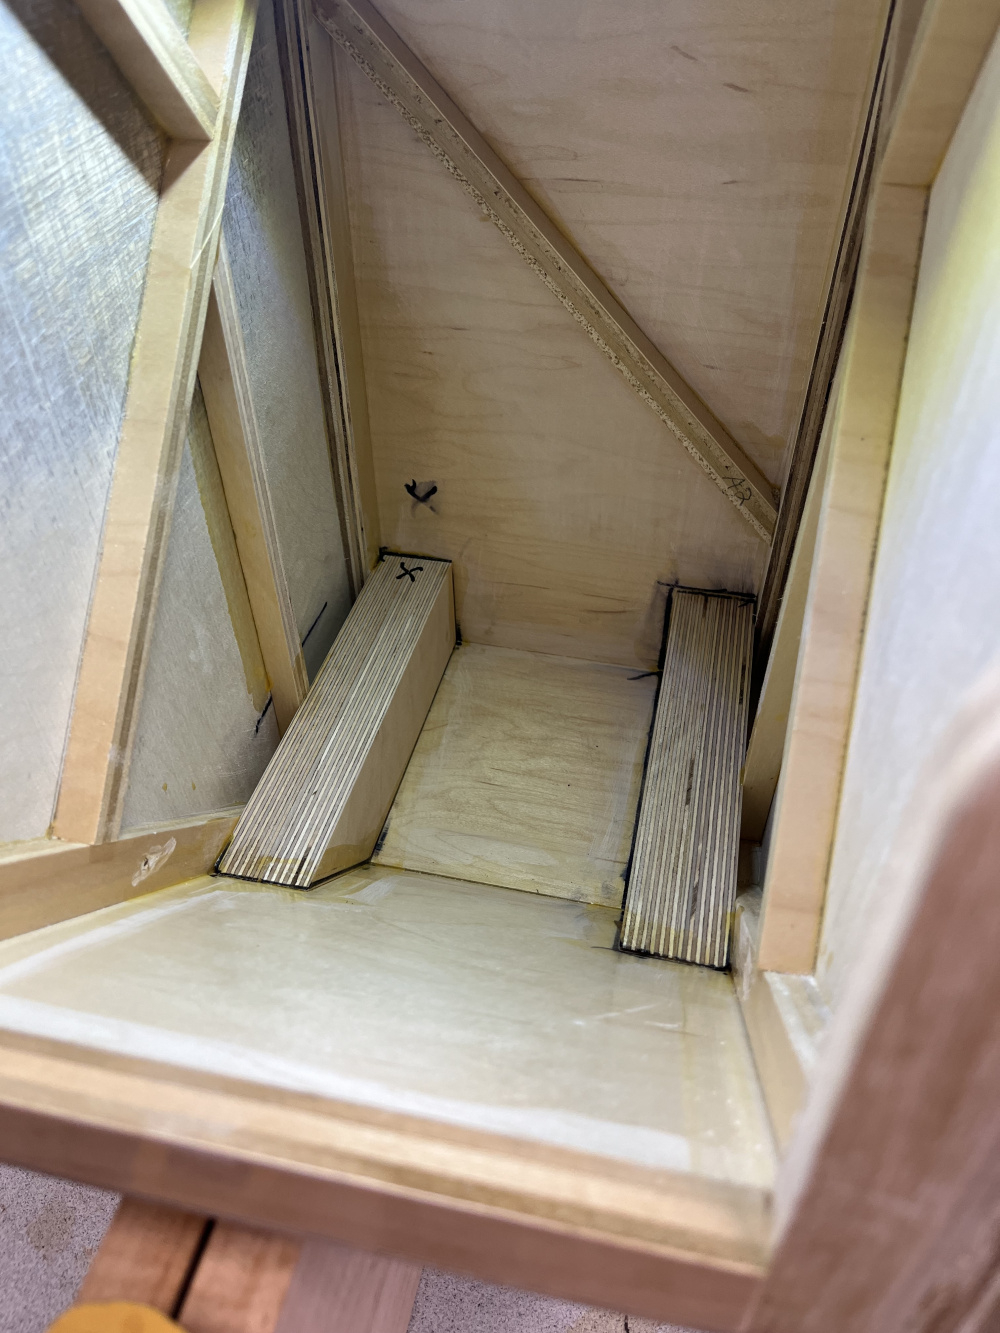
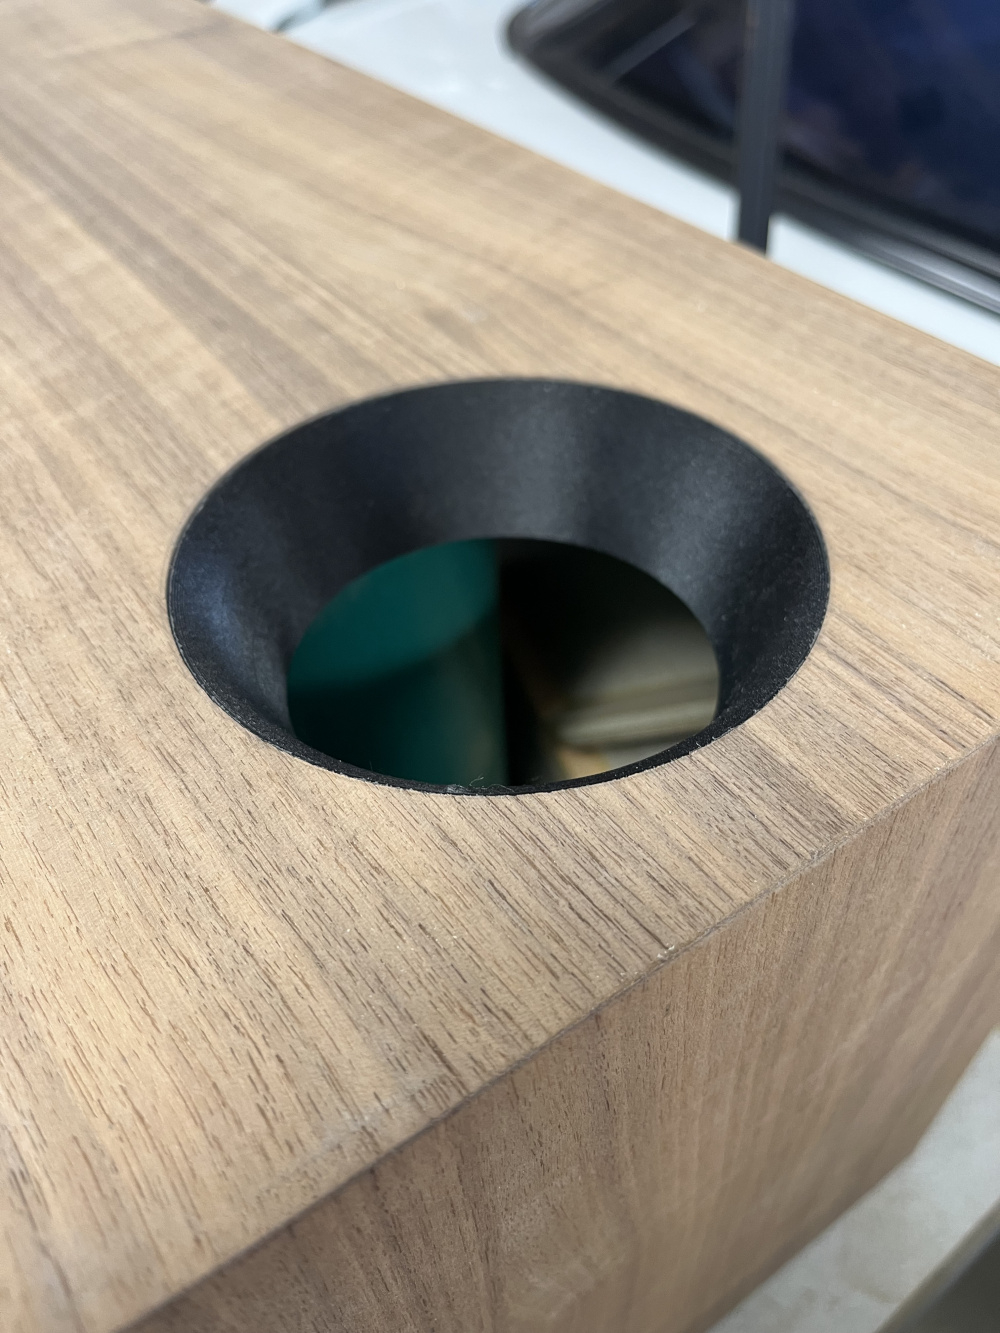
Also got the holes done to mount the ports though. I'm going with a rear mounted port because of the tight space I have to work with to get it up above the mid pipe, behind the tweeter. Adam is printing them up in PETG CF. This was a trial piece to get the depth stop dialed in so it'll be flush to the outside of the enclosure.
You took the cabs to another level sir , good lord.
Actual ports fitted👍🏻
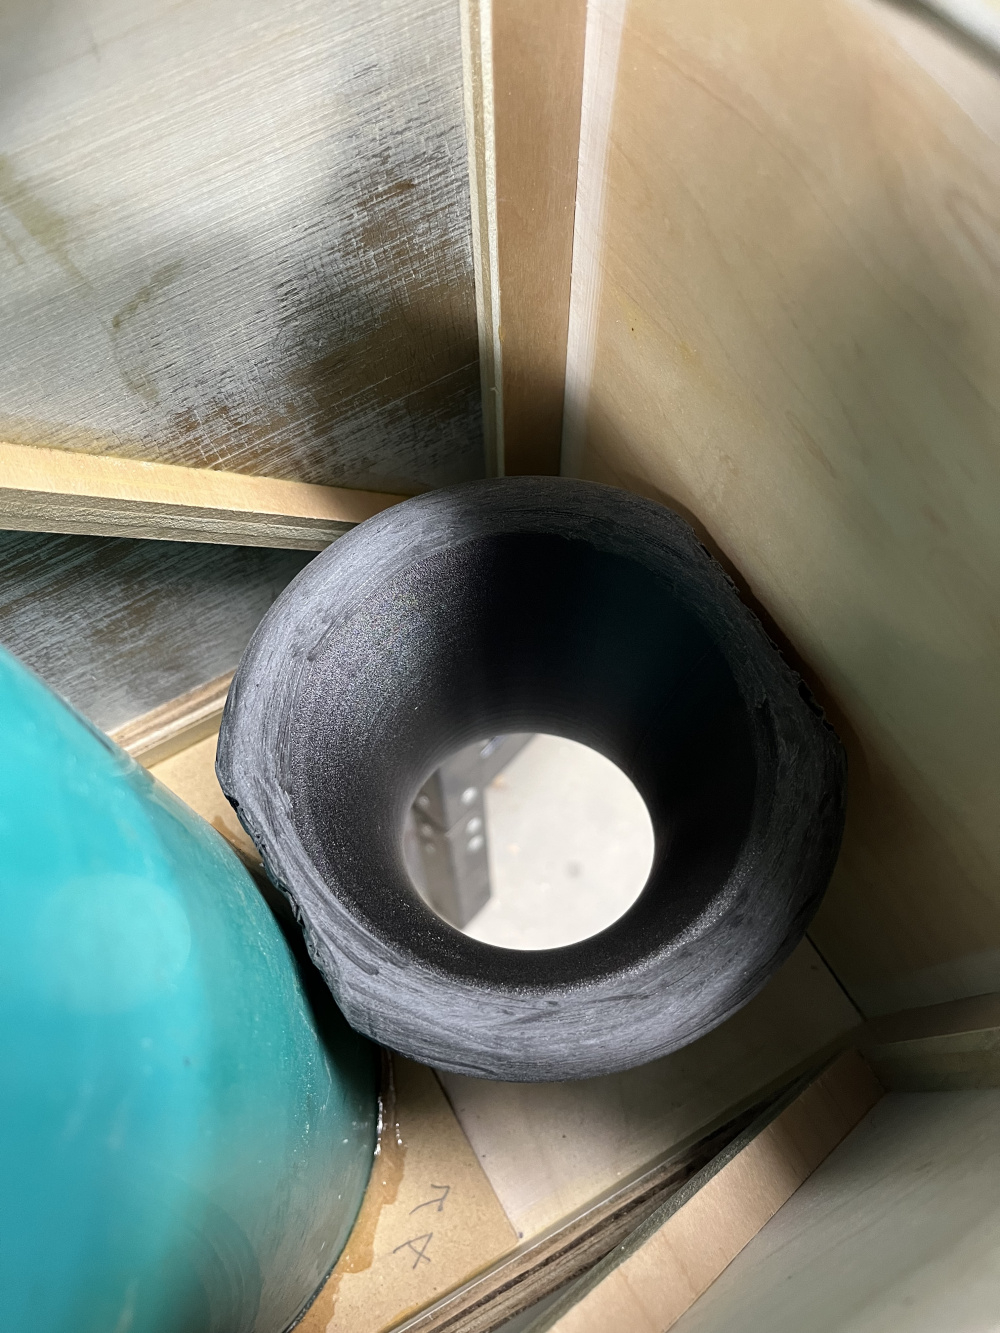
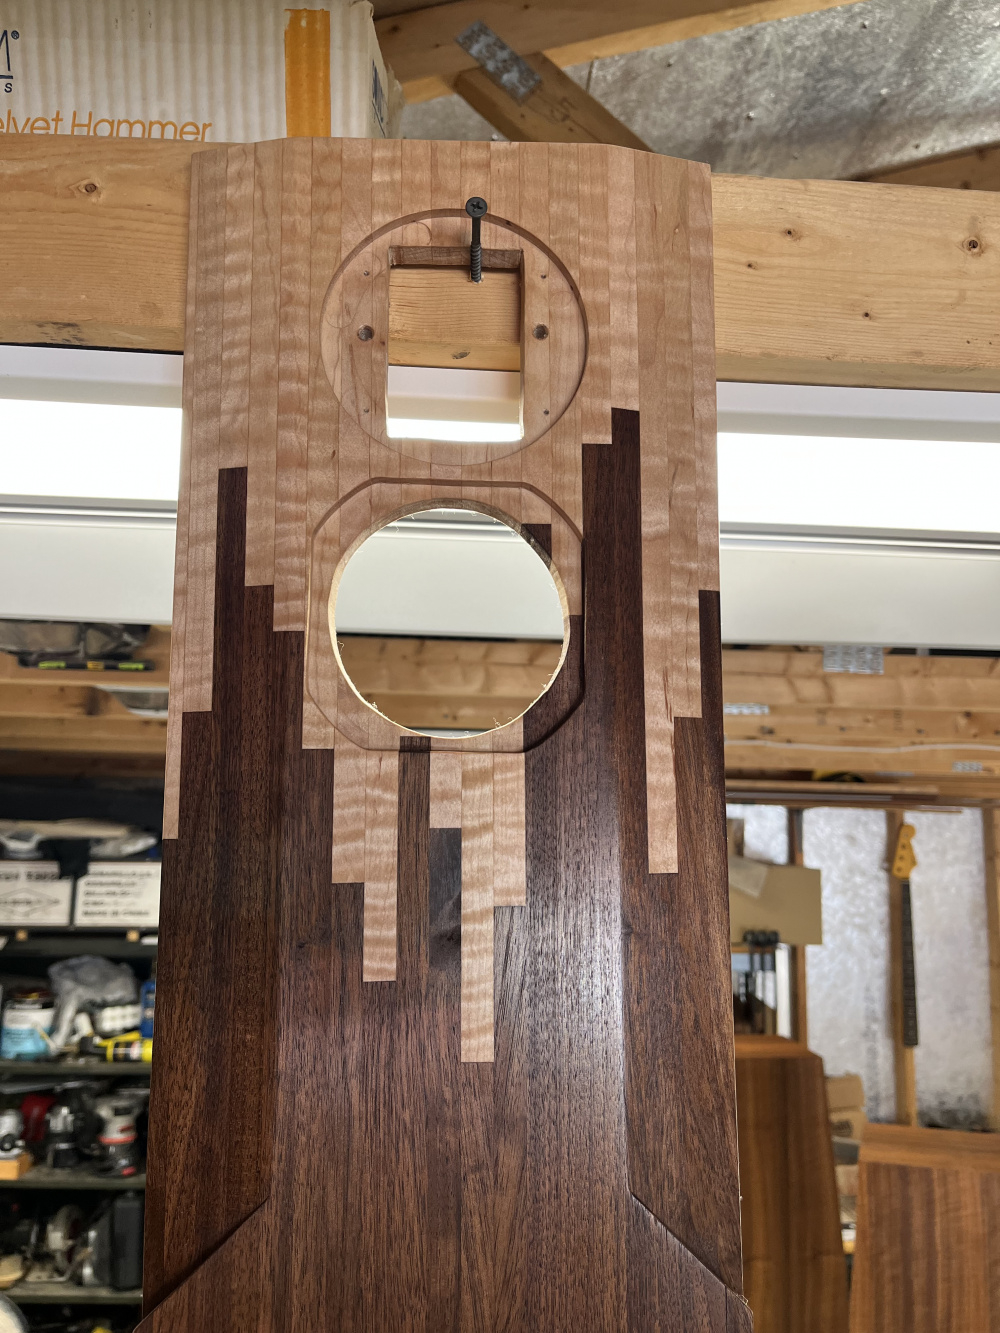
Drilled mounting holes and did a quick mock up.
WOW!
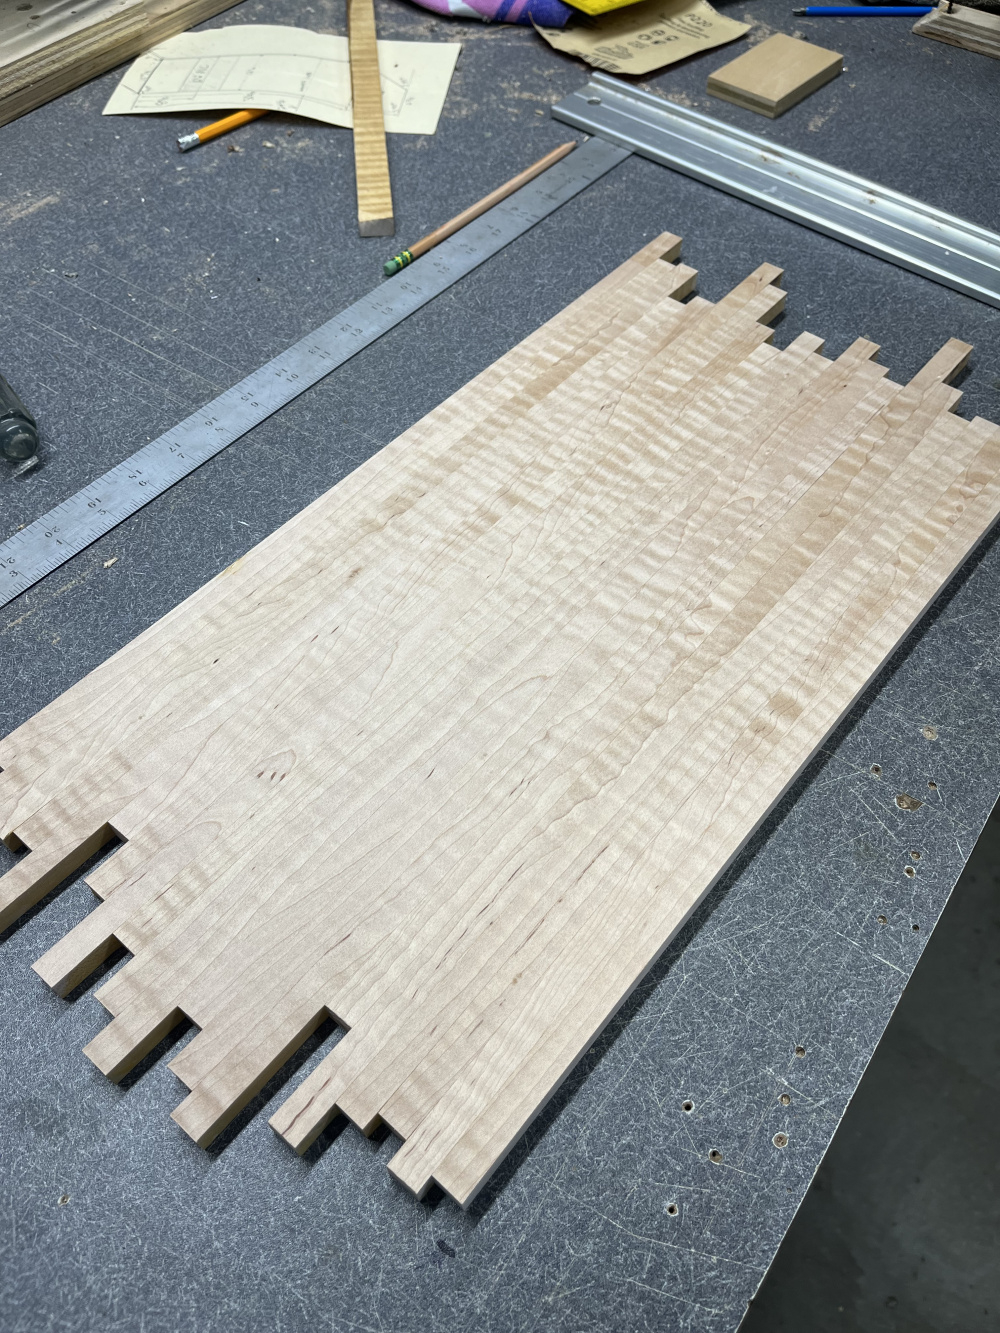
Started on a blank for trim pieces to go on the front of the bases. I felt it was a little to plain, so I glued up some maple to mimic the baffle.
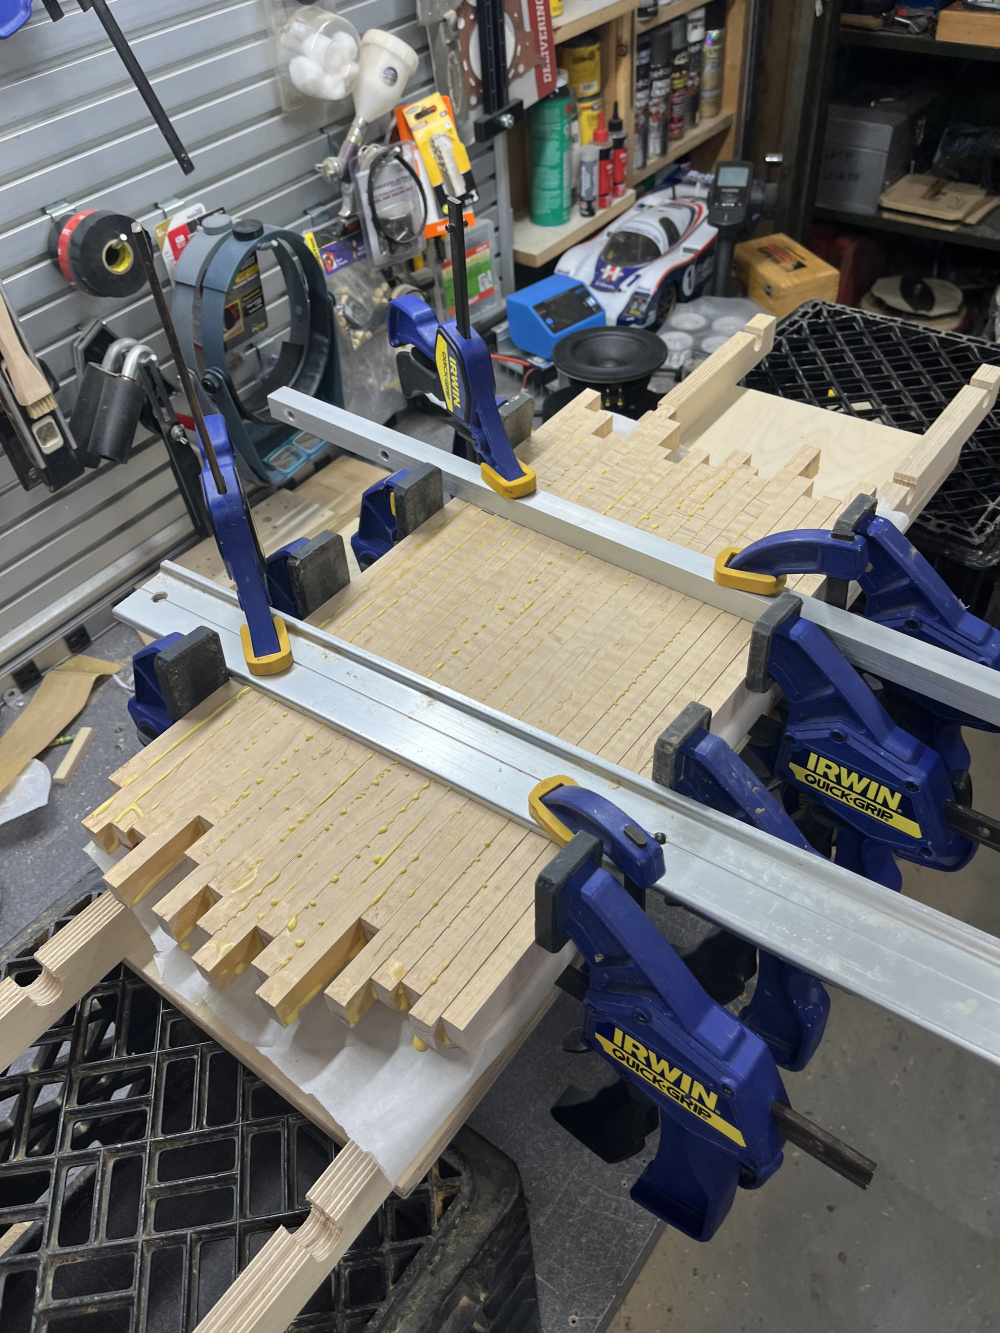
I'll do the copper trim between it and the base as is done on the baffle to enclosure.
Side note... So I went to install new blades on the planer. When I took it apart, realized that the cutters are two sided. So I just had to flip them around. Those blades have been in this thing for like 25 years? Holy shit! I ran this piece though and it's literally like glass!!!😳 I really don't think it could be sanded any smoother. Should have done that like 15 years ago!!!😆 I couldn't tell y'all how much wood has been though this thing, hell I did a couple pieces of Trex for a buddy to use on his motorcycle trailer too!!
Time for the finish. This time around I tried Osmo. This happened because I wanted a base that I could clear over. I wanted the cabs to be satin and the baffles to be gloss. I originally wanted to try the Rubio stuff because of the way Javads speakers looked, it really brings out the natural look and tone of the wood. After contacting Rubio, they didn't recommend being able to lacquer or 2K poly over their finishes.
That lead me to Osmo. John H and DaveFred both have had really nice finishes on previous builds and the Osmo products also gave a nice natural tone to the woods. I contacted Osmo for any recommendations for my situation and they came back with their "Wood Wax Finish / Clear Extra Thin" They stated that it actually doesn't contain any wax, therefore should be fine to clear over. Took a trip to my local Woodcraft as they showed it in stock.
I've applied two coats to the enclosures and baffles.
That really makes the maple/walnut pop.
So these cabs are on a table, putting the mid pipe close to ear height. As I was standing there, music rocking in the garage, I happen to be right next to it and noticed a resonance. I stuck my phone in the pipe, pretty obvious where this pipe resonates!
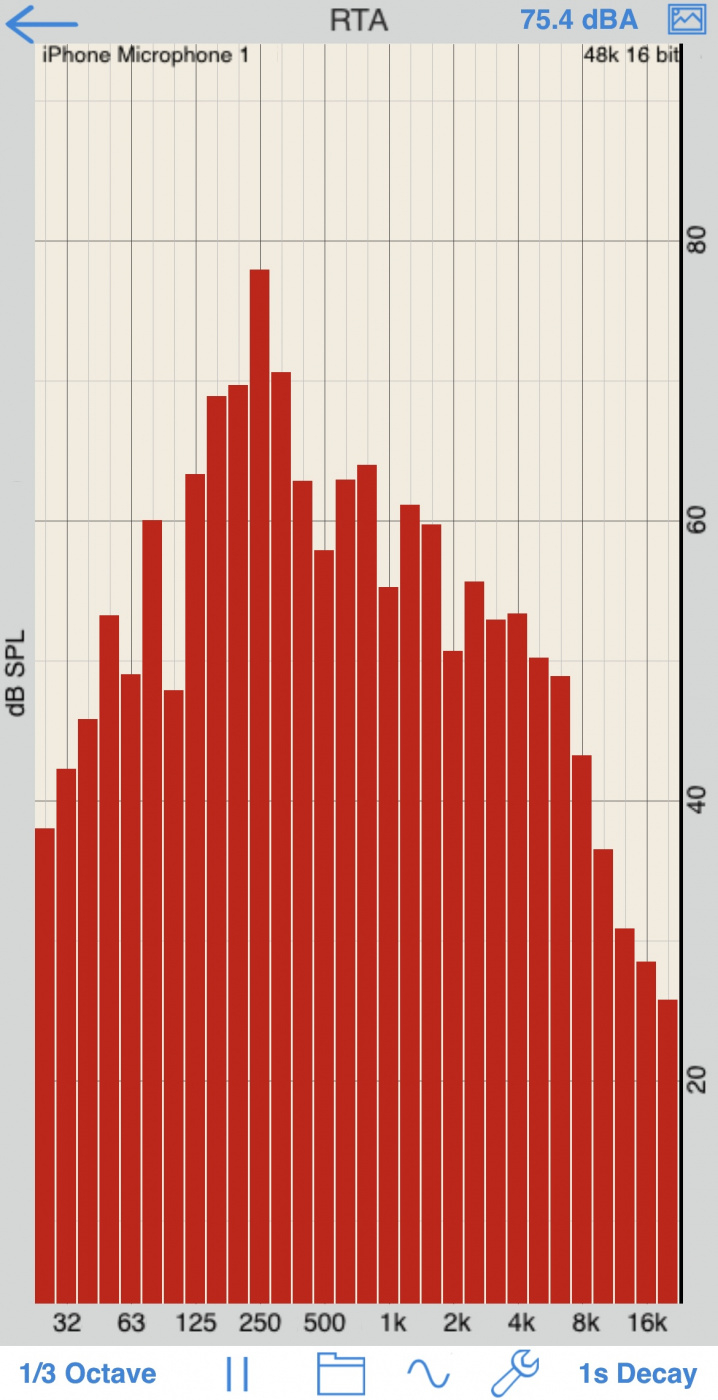
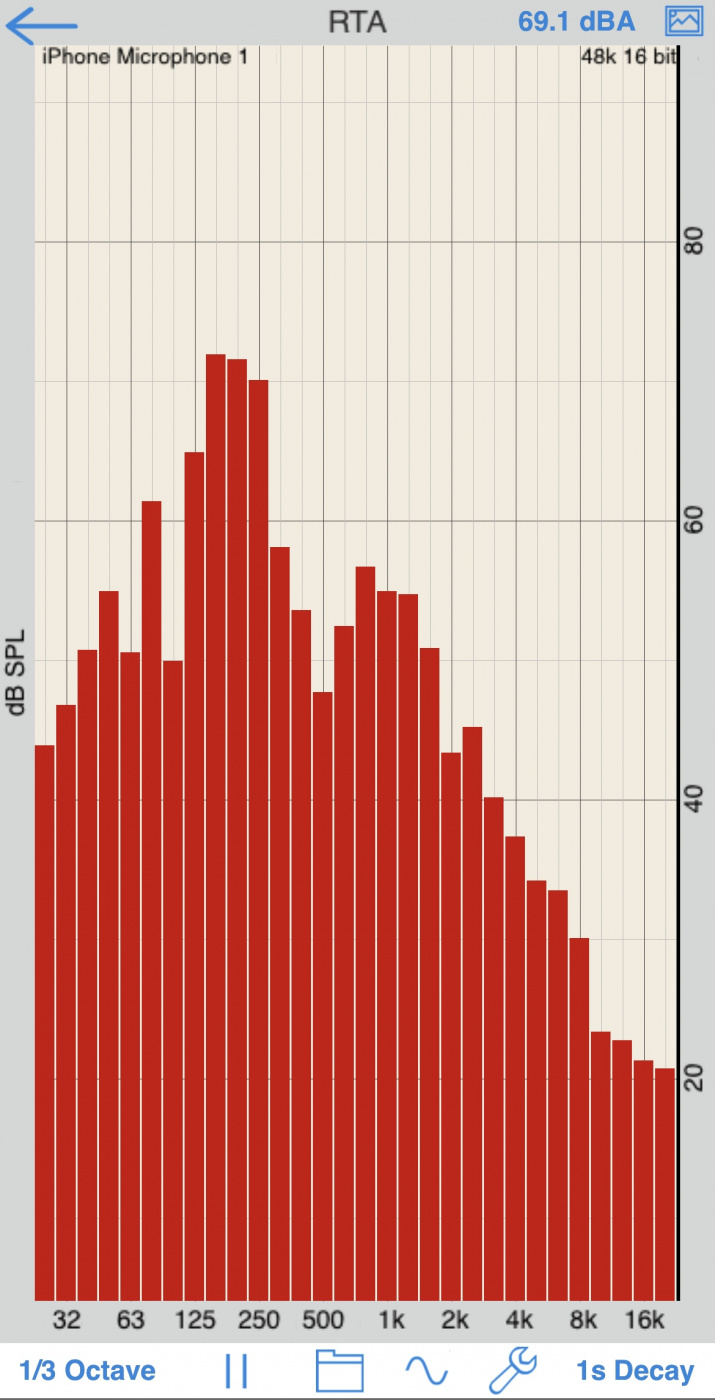
I stuck a 12x12 piece of egg crate foam in just to see what it would do.
Granted I'll be fully stuffing this thing, and I'm guessing the xover will probably be above 250Hz, but neat to know what to watch for.
Also if anyone noticed, I'm not opening the back up as originally planned....at least not yet...🤔
The staggered patterns in that curly maple - awesome!
Continues here....
https://discourse.midwestaudio.club/t/dygs-continues/47/4
I think someone hijacked your new thread. Their avatar is not the Saturn logo.
I like the new logo better, but I'm not sure what it is actually...
It's his WA logo for Woodring Audio for his bass amp building sidegig.
InDIYana Event Website