Site Links
Howdy, Stranger!
It looks like you're new here. If you want to get involved, click one of these buttons!
Quick Links
Categories
In this Discussion
Who's Online (0)
Speakers for an old friend

I haven't seen my best friend from Jr. High & HS in quite a few years. I would IM him on FB every once in a while and a few years ago I learned he had been diagnosed with cancer. More than just one type! Then they found multiple small brain tumors. He's really been through the wringer. His strength is now slowly getting better. But thanks to the meds, his eyesight has been seriously impacted. But when he told me his hearing is still as good as ever, I decided to build him a pair of desktop monitors. It'll give the motivation to make the drive to Omaha to pay him a visit and talk about the stupid things we did when we were younger.
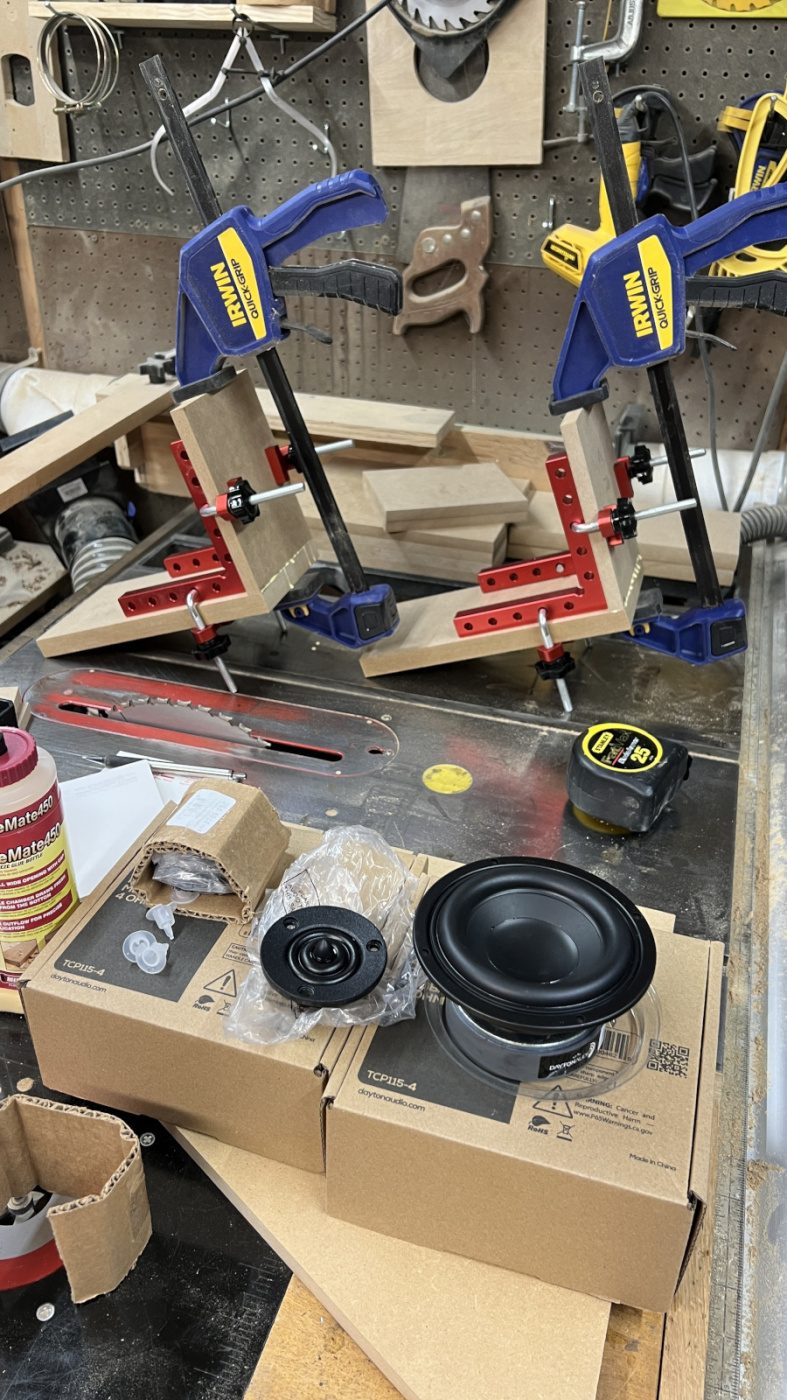
These monitors are my mod of Duane Brown's Dayton 4s and use the XT25SC90-04 along with a few more parts to deal with that tweeter. Lots of pictures, because I think everybody loves pictures of other people's build process.
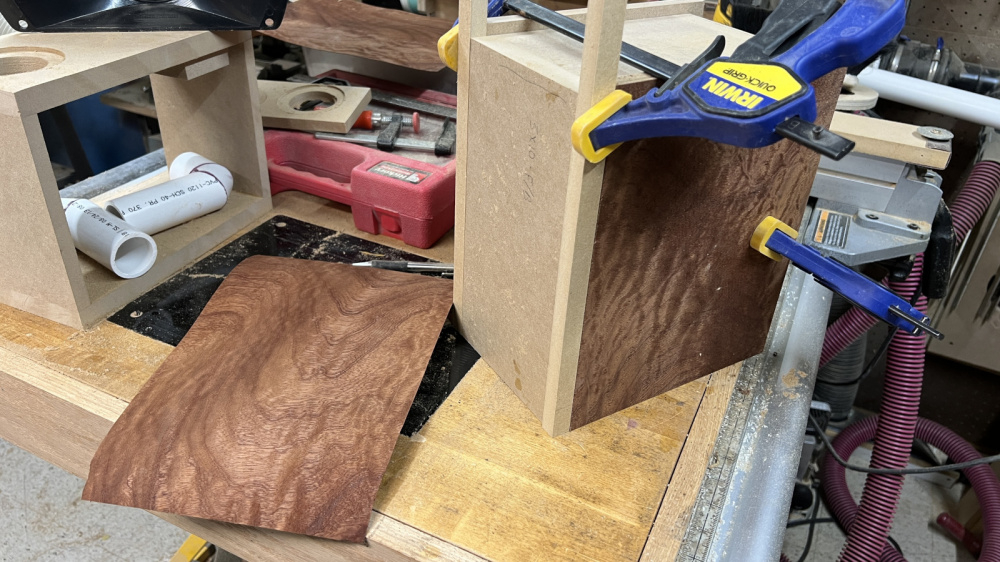
I don't remember where I got the veneer, but it has a cool, 3D look to it. But....it's not flat and very brittle, so that took a few days to get under control.
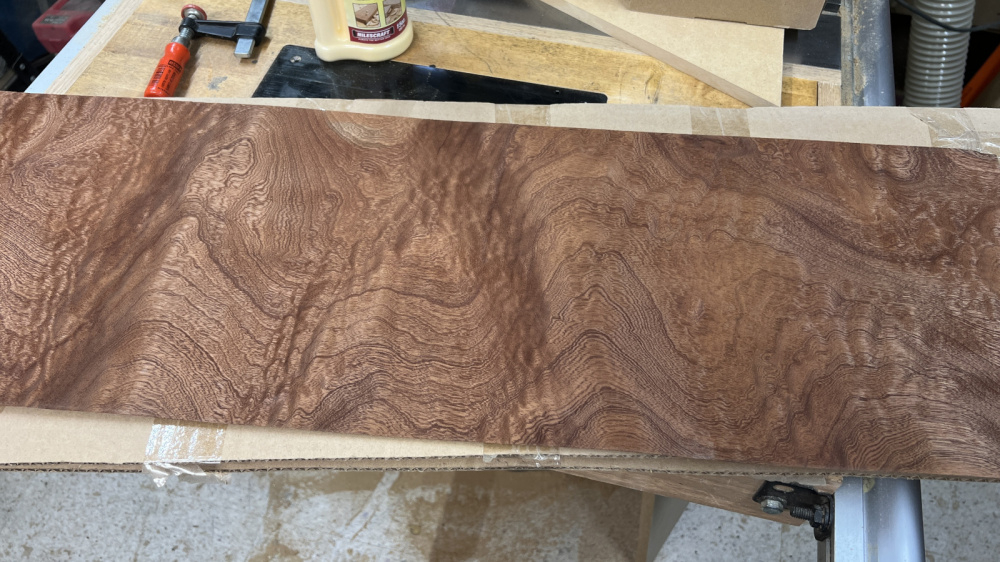
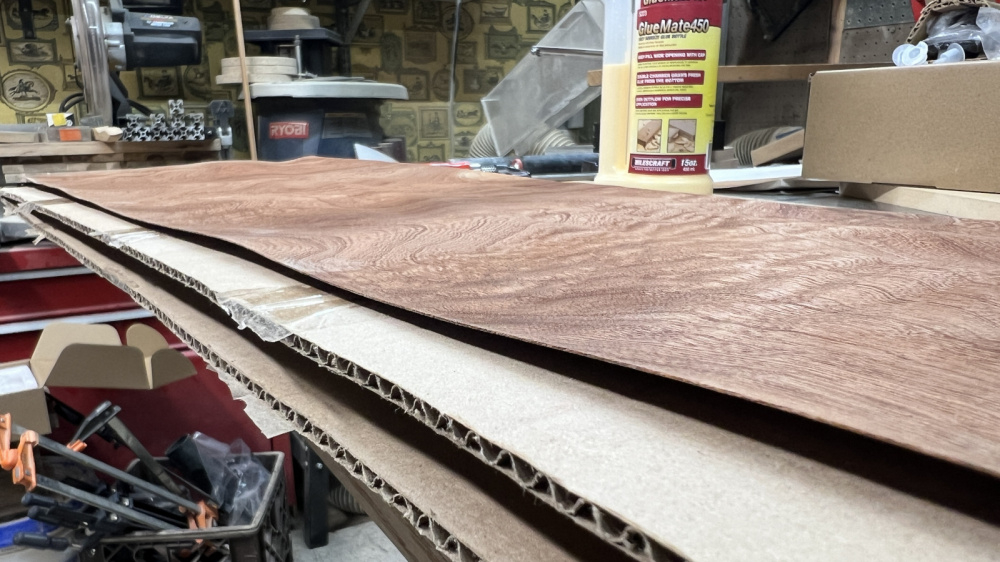
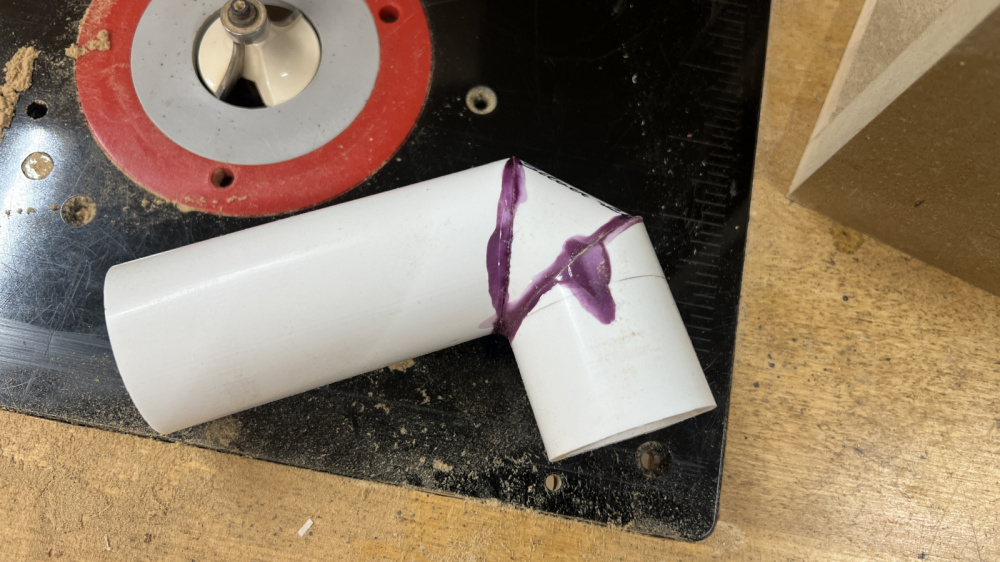
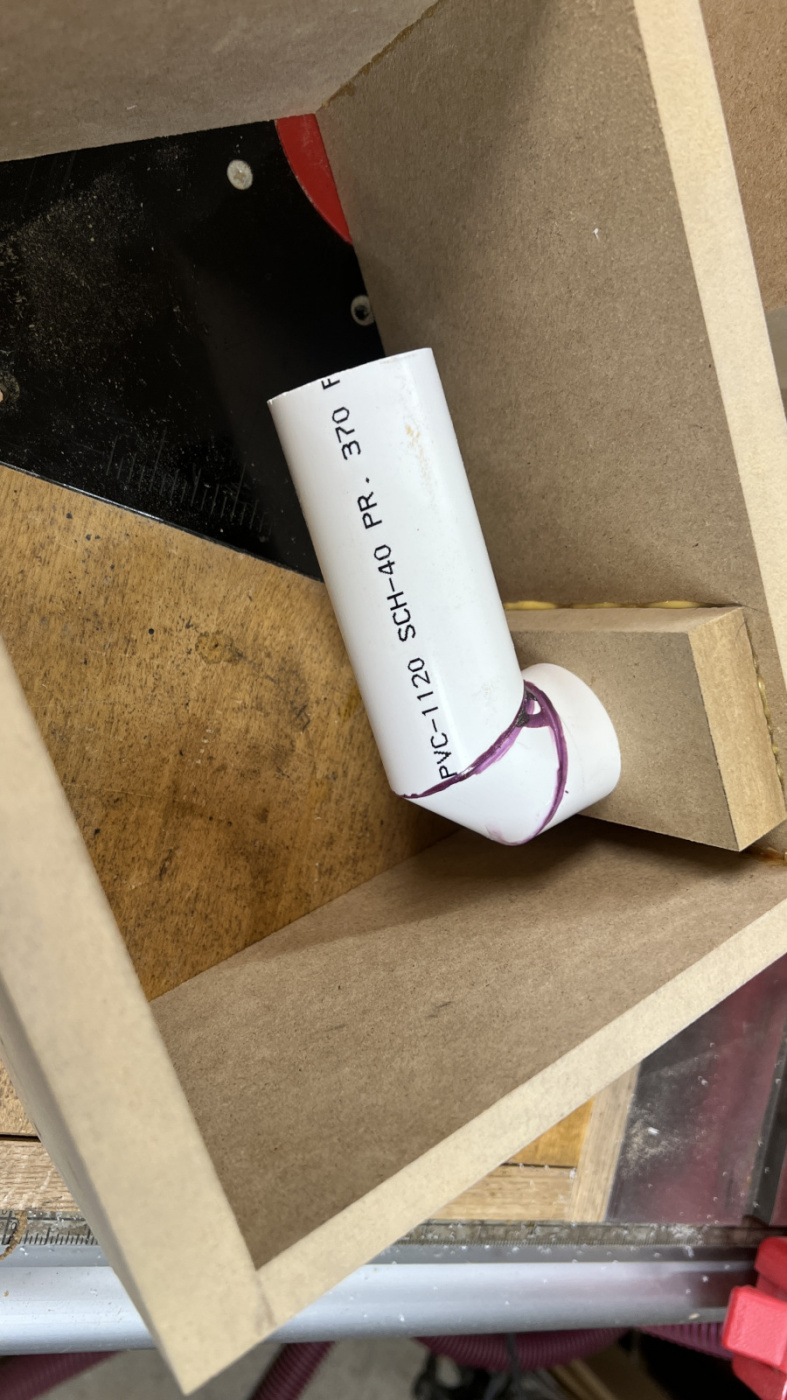
I was hoping the veneer would be soft enough to make a 1/2" radius, but that's too risky. Sides panels are veneered and waiting to be glued up. I thought I would deal with the ports before sealing everything up and making my life harder.
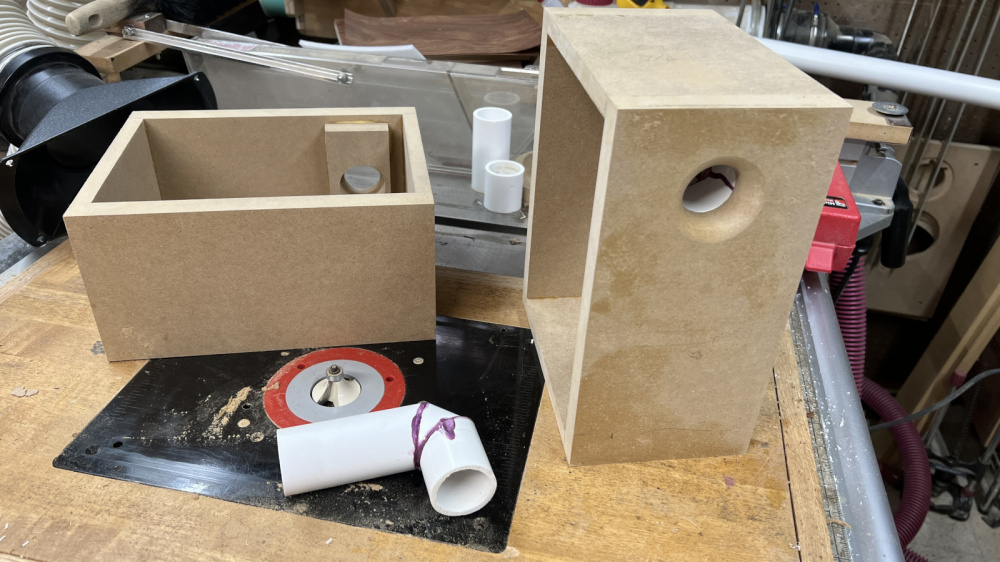
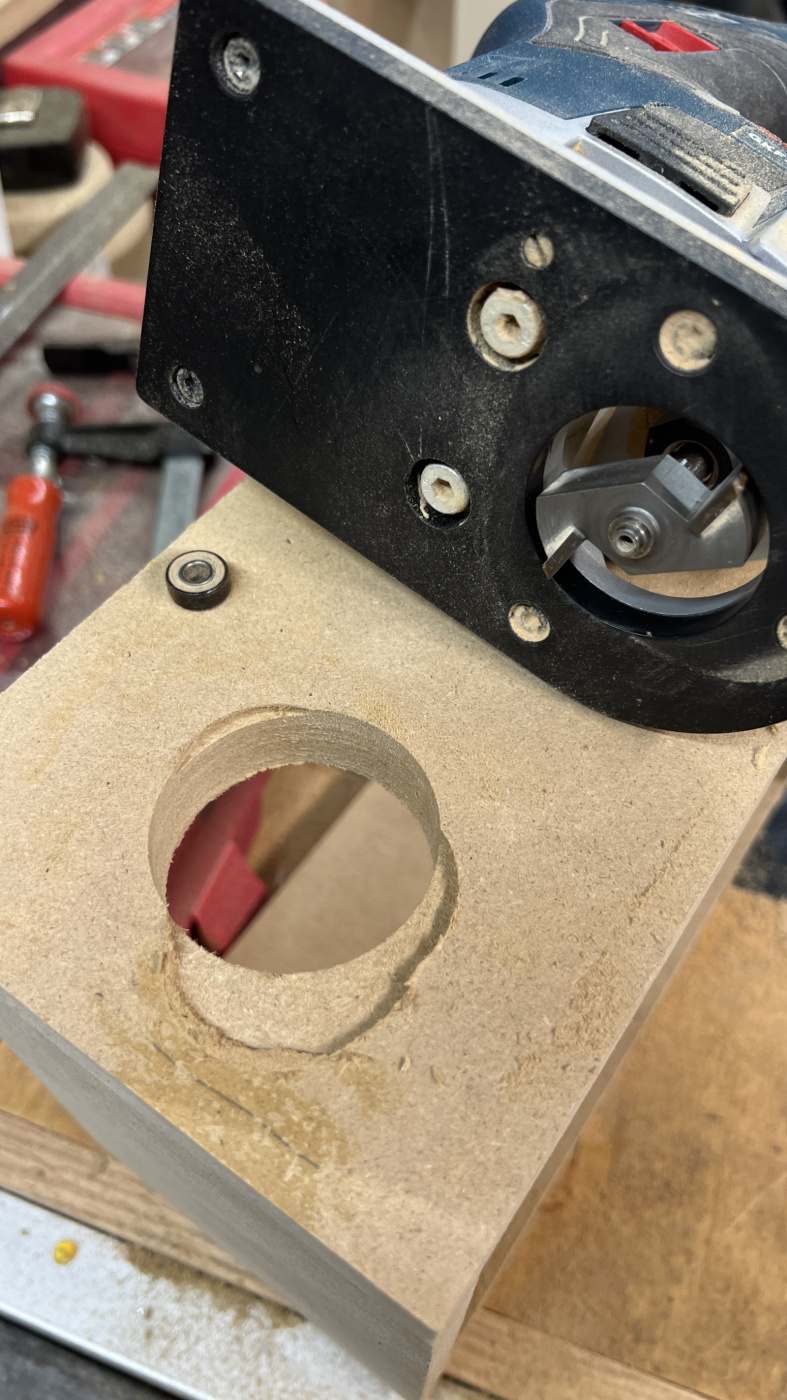
I had a bearing pop off while countersinking the terminal cup - I'll have to deal with that later.


Comments
I had glued the veneer on the backs and flush trimmed it, but then realized I should have waited until the sides were glued and trimmed. I also wanted to flare the port inlet, so that would be another issue with the veneer.
Plan B - heat it up, scrape it off and the backs will now be black!
You make me feel SO much better about all the mistakes I make!
I would go forward and build on what you have done so far. You're heart is in a good place.
Seems like more work to peel it off and prep the surface than to fill the grain and paint over it.
I thought about just painting over it, but there was one bottom edge with a few spots that chipped out and I wondered if the radius on the port might be problematic. Luckily the heat gun and a chisel made it pretty easy to scape off.
Just finished ironing on the baffle veneer. I should have it trimmed up tonight and ready for the 65mm Forstner bit for the tweeter recess. That should be here sometime tomorrow. It's just a cheap Chinese bit, so I'll probably use it to make a router template, rather than using it directly on the veneered baffle.
Veneer softener is your friend. It will make it rubbery and round overs possible.
Awesome reason to build those speakers! I have a friend I've known since kindergarten, was basically my second friend I can remember. We still hang out, he lives up in northern Kentucky, so we're only an 1.5hrs away. He was down last night for a concert. He has a set of my speakers.
Hope you get to reconnect with your buddy!! That'll be a great time🤘🏼
I used a lot of Super Soft on this veneer, but maybe I dried it too much during pressing. I changed the paper towels like they directed and the humidity in the house is pretty low with the AC running so much. Maybe those directions were for when you only need to flatten the veneer?
Busy week, so not much time to work on these until today. The 65mm Forstner bit arrived and it's one big, heavy bit. A test cut showed it was almost made for these tweeters.
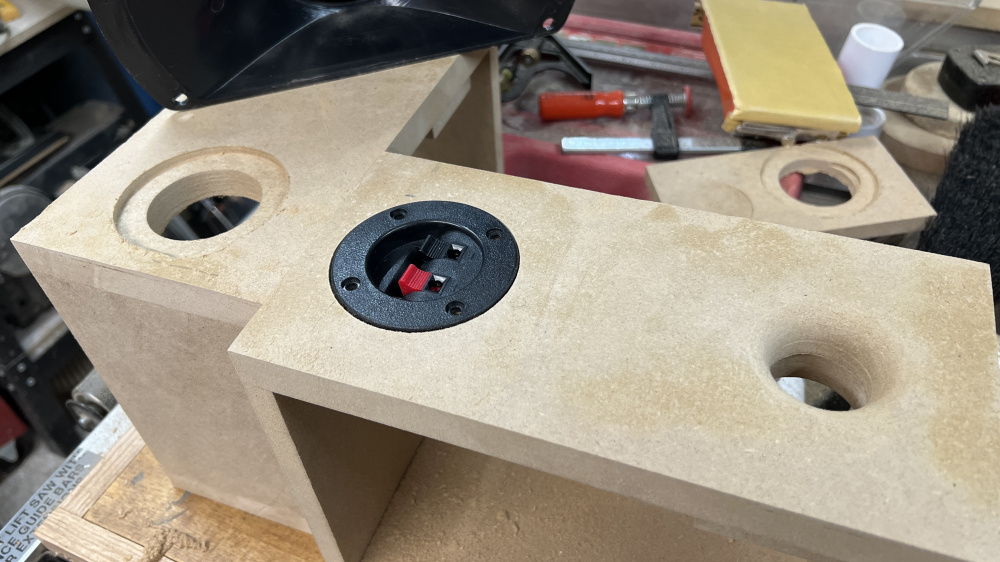
I actually thought ahead for once and considered how to mount the crossovers before gluing everything up.
Tolerances for the drives are the tightest of anything I've build to date. The woofers needed a little persuasion to drop into place. The shadow line makes it look like it's a little loose, but it took some force to pop it into the cutout.
Time to measure to make sure all the drivers check out, then it's on to cutting the top & bottom caps.
+++ On the raised Xover board w teflon / plastic washers.
Not that the rest of your built ain’t +++
No surprise here 👍, and I don’t know about how old - but that’s one very lucky friend !!!
+1 on the raised xover board. Looks like you just slide it into a slot on one side. I was thinking of doing something similar to this with my "crossover in a drawer" mounting concept on my current build, but somehow it just never happened (at least, not yet). Think I'll steal your idea, if you don't mind. All I have to do is glue a small slotted board just behind my tweeter to accept and lock the board in place when I close the drawer.
Sometimes a card slot or wedge and one screw is enough. Then you can take them out with one hand.
InDIYana Event Website
We'll see how well it works pretty soon. I do know the board fits through the woofer cutout with room to spare and it's really solid. But I'm not entirely sure I left myself enough room to easily get to those screws.
I think I saw someone else do this years ago - might have been one of Wolf's designs.
One speaker is up and running. Still a little tweaking to do, but it's sounding pretty decent considering I'm a novice working with a series crossover.
I stole a trick from Ron and bought some fine mesh party favor bags to keep the polyfill in one nice clump. I should have the other one together and be listening in stereo sometime tomorrow morning.
I think I saw a video where Tom Zarbo mounted his crossover like that. Pretty slick!
Just one example from me was the Purveyor. The board was mounted with a single screw. There have been others.
Less effort in removal for adjusting components can save a lot of time and anguish. Even without the nylon spacers, or simply an mdf strip for a single screw; just a wedge, slot, brace, or stop is all that is needed to hold or anchor the furthest edge of the board. Since I use pegboard, I just use a screw with a larger head in one of the holes.
InDIYana Event Website
I have a sim that looks promising. More parts than I was hoping to use, but the cost will still be much lower than the parallel network. The series network will also be much kinder to that tweeter. I'll wire it up and see what the off-axis looks like.
Comments/suggestions are welcomed and encouraged!
Series sim
Parallel sim
Remember that L2 is your BSC in the SXO. You may want a larger coil there. C3 is made smaller by the inclusion of R2, but R3 is the main padding resistor and can be increased to eliminate R2 if needed. When I did the Xenums with the XT25SC90, L1 was 0.15mH, which could pull the Fs down even further.
I applaud your use of an SXO, and think you are on the right track.....
InDIYana Event Website
I tend to find the higher crossover point usually sounds better if you can stay clear of cone breakup. Looking at the data sheet it looks like you have a good starting point.
Turns out the off-axis isn't as bad as I would have thought. Things get a little wonky at 45 degrees, but these are designed as near-field monitors, so they'll be pointed right at the listener. My main goal is that these won't be too harsh on less than ideal recordings and still have decent performance with the tracks we all know well. I have no idea what Thad listens to these days, but he's a sax player, so I don't want horns to be harsh.
I played a bit with raising R3, but things just weren't going the right way, so I'm still using R2 along with R1. I'll have to order a few parts to eliminate the paralleled caps and series resistors, otherwise it'll be a very tight squeeze on the perf boards.
I'd definitely address 1-3K.
How's your impedance Tom? I've had issues with it dropping very low in series crossovers.
I've not had that problem.
InDIYana Event Website
Luckily impedance never drops below 4 ohms. I'm getting really close with these. Top end may be a little too hot, at least for my tastes. I just need more ear time and try them in a different environment too.
Personally I would target a more slightly downward slope. Depending on boundary reinforcement though, it may end up tonally balanced so find out where they will reside and go from there.
That FR looks better through the 1-3K region. As JR stated a downward tilt would possibly help the "hot" sound.
Final placement would dictate what it really needs.
Looking at your measurements, I would start by seeing if there is anything you can do to knock down the woofer response in the 7-10 kHz region.
Sehlin Sound Solutions
I have a .47uf across L2, but it's only pulling that area down about 5dB. But I no matter what else I try, I'm still hearing a slurred top end. I'm finding the series approach to be beyond my current skill set using these particular drivers. I'm going to try a version of the parallel xover tonight and see how it goes.
You can still place an LC across the woofer if the tank cap is not doing the job. I recommend a 0.1mH and 4.0uF to start.
InDIYana Event Website